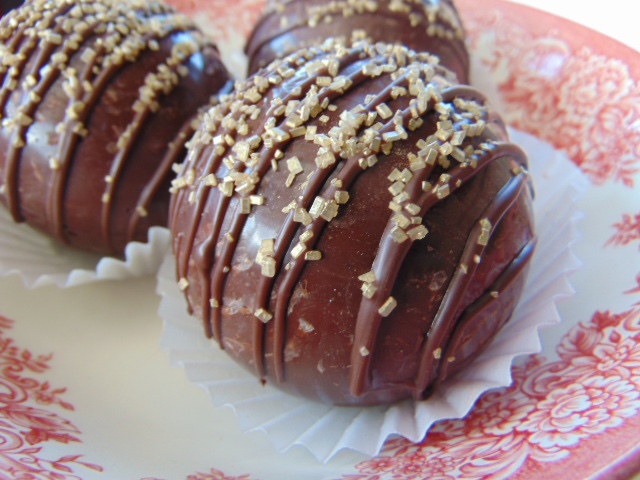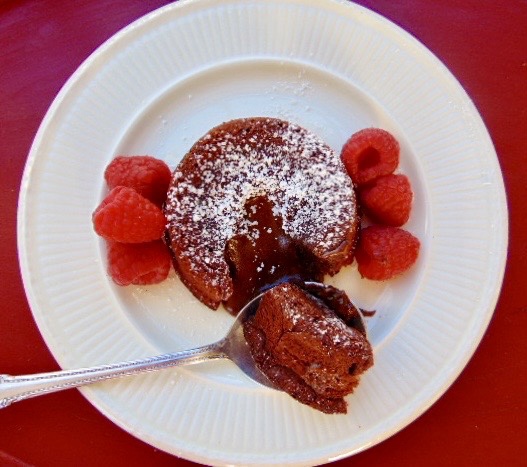
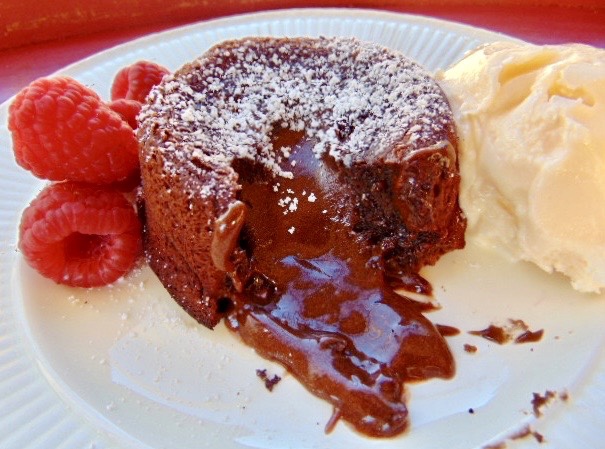
Have you ever had this delightful treat? What appears to be a regular chocolate cake is actually filled with a surprise of warm melted chocolate that comes flowing out like lava. It’s probably one of the funnest desserts to eat. It’s an experience that I highly recommend.
I have ordered lava cake at restaurants, and always assumed they were complicated to make. I was wrong. These little cakes are so incredibly good, and so easy to whip up, literally. Use a whisk for everything, no mixer is required.
Make them ahead of time, and pop them in the oven whenever you are ready for an amazing chocolate dessert. Chocolate lava cakes would be great for Valentine’s Day, or any special occasion. These chocolaty molten filled goodies will make any ordinary day extraordinary.
Happy Eating!
So whether you eat or drink or whatever you do, do it all for the glory of God. 1 Corinthians 10:31
Chocolate Lava Cakes
Yield: 4 cakes
Required equipment: 6 ounce ramekins
Ingredients
4 oz. semi-sweet chocolate
1/2 cup butter
2 eggs
2 egg yolks
1 teaspoon pure vanilla
1/2 cup powdered sugar
1/4 cup flour
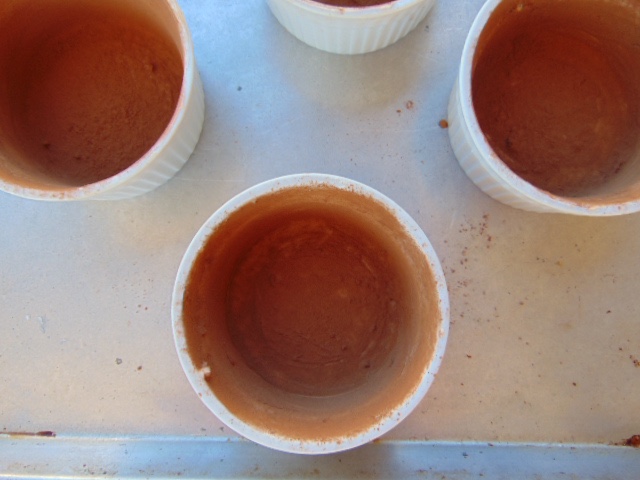
For ramekin prep:
1 tablespoon butter
cocoa powder for dusting ramekins
Optional toppings for the lava cakes:
powdered sugar
fresh berries
vanilla ice cream
whipped cream
Instructions
- Preheat oven to 425°
- Butter each ramekin and dust with cocoa powder.
- In a medium size bowl place the stick of butter with 4 oz. of chocolate. Heat in the microwave for 30 seconds, then stir. Continue heating the chocolate and butter for 30 second intervals until the chocolate is melted and smooth. Stir between each 30 seconds. Don’t overheat. Chocolate can easily burn.
- In a separate medium size bowl whisk the eggs and egg yolks. Whisk in the vanilla.
- Whisk the melted chocolate into the eggs.
- Whisk the powdered sugar and flour into the chocolate mixture until combined.
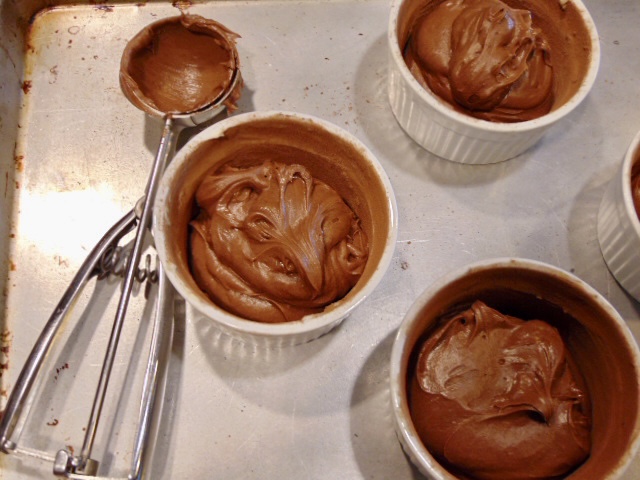
- Evenly divide the batter between the four ramekins and place on a baking sheet.
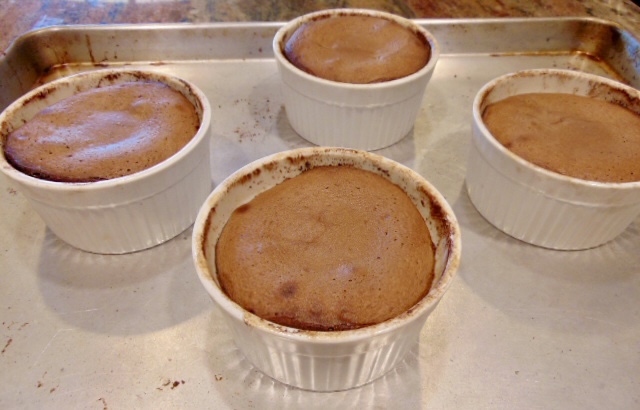
- Bake for 12-14 minutes until the sides are firm. The centers will be soft.
- Let the cakes sit for 1 minute. Turn the ramekins over on dessert plates to release the hot cakes. Sprinkle with powdered sugar. Enjoy!
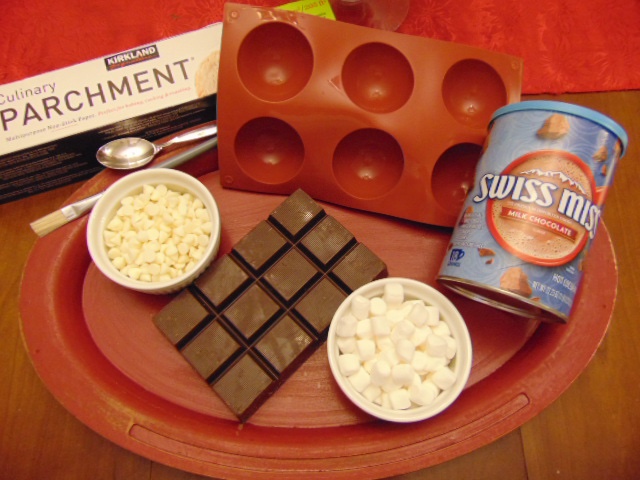
Use good chocolate. I love to use Ghirardelli semi-sweet chocolate baking bars. They are 4 ounces, and can be found at any grocery store. You can use regular chocolate chips and the cakes will still turn out good, but better quality chocolate improves the taste by a lot.
Use room temperature eggs. Let your eggs sit out for a bit before you start preparing the cake batter. You will get better volume in your eggs which helps make a light fluffy batter.
Use salted butter. I use salted butter for all of my baking. If you prefer unsalted butter, just add a pinch of salt to the batter.
Lava cakes can be reheated. Heat leftover cakes in the microwave for 30 seconds to get that yummy lava flowing again. Or, place in a 350° oven on a baking sheet upside down for 10 minutes.