Food, Uncategorized

Homemade Magic Shell

dsc01048

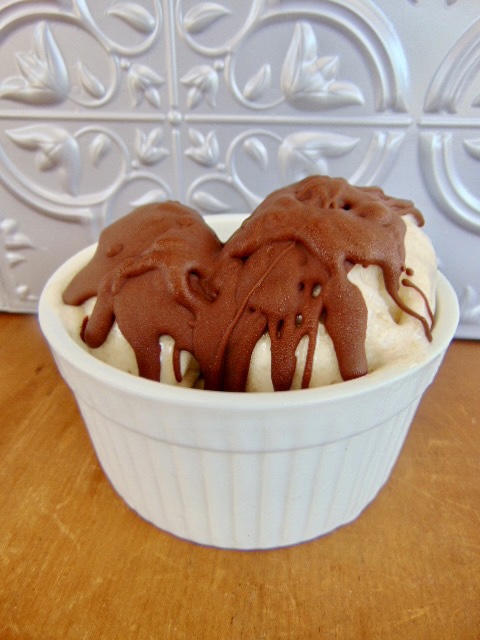
I remember begging my mom for Magic Shell at the grocery store when I was a kid. I think she gave in a few times, but with five kids we didn’t get treats like that very often. For those who have never heard of it, Magic Shell is a chocolate topping that hardens once it’s poured on ice cream. It’s so good!

I was excited to find out Magic Shell is super easy to make at home. If you are a chocolate lover like me, you will love this wonderful topping. Only two ingredients, chocolate chips and coconut oil. Easy peasy! 

Happy Eating!

Jesus Christ is the same yesterday, today, and forever. Hebrews 13:8

dsc01031

Magic Shell

Ingredients

2 cups semi-sweet chocolate chips

6 tablespoons coconut oil

Yield: 1 1/2 cups (12 oz.)

Instructions

  1. Place chocolate chips and coconut oil in a microwave safe bowl.
  2. Microwave for 1 minute 20 seconds. Heat for 30 seconds at a time then stir in between until smooth and melted.
  3. Let the chocolate cool to room temp and place in an airtight container. Store at room temperature. Use Magic Shell on your ice cream and enjoy!

Notes

* If the chocolate and coconut oil separate after being stored for a while, just pop it back in the microwave to warm it up for a few seconds, give it a stir, and you’re good as new.

* Magic Shell takes up to a minute to harden up on ice cream.

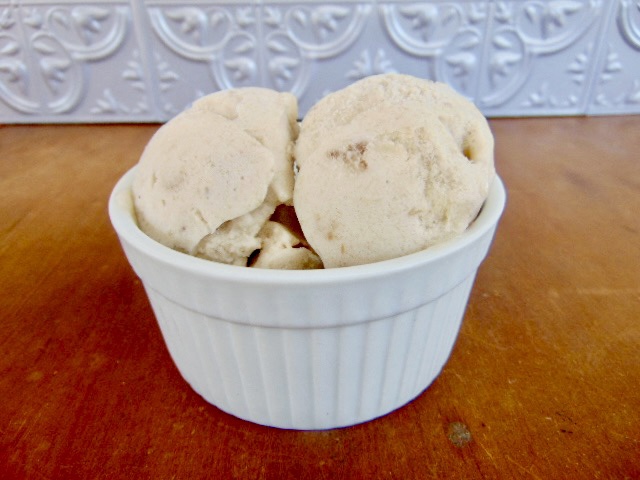
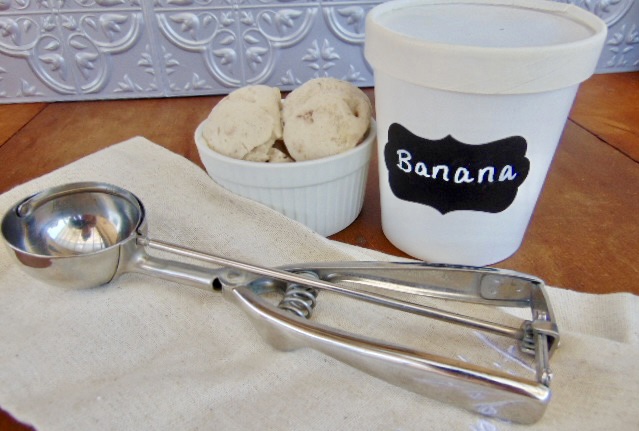
* Magic Shell is delicious on Banana Ice Cream 

dsc01023dsc01025

Food, Uncategorized

Banana Ice Cream

dsc01036

I had several very ripe bananas that I wanted to use up. Another loaf of banana bread wasn’t going to work, since I had two loaves in my freezer. Then the idea popped in my head to make banana ice cream, since I had seen it online. I love trying new things, so I went for it.

My experiment worked beautifully, and really surprised me. Frozen bananas make great ice cream. The texture is like soft serve, sweet, creamy, and delicious. You just need ripe bananas and a food processor, or blender. So simple, yet so refreshing.

The best part about this ice cream is you can add things like chocolate chips, peanut butter, vanilla, or other frozen fruits to make any flavors you wish. This easy one ingredient banana ice cream is the base, and you can create to your hearts desire and your taste buds desire.

Some call this banana nice cream, since it’s not technically ice cream. Call it whatever you like. But definitely give this banana ice cream a try if you’ve got some ripe bananas sitting around. This is a great way to use them. Enjoy!

May mercy, peace, and love be multiplied to you. Jude 1:2

dsc01035

Banana Ice Cream

Ingredients

3 ripe bananas

Optional:

1 teaspoon vanilla

1 to 2 teaspoons agave nectar or maple syrup for extra sweetness

Equipment

Food processor or blender

Instructions

  1. Peel and slice ripe bananas into 1 inch pieces. Place sliced bananas in a freezer bag and freeze for at least a couple of hours until frozen solid.
  2. Put the frozen bananas in a food processor or a blender.
  3. Chop or blend banana in short intervals. At first the bananas will be in large chunks until they get crumbly. Scrape down the sides between each pulse of the food processor or blender. After a few minutes the bananas will become smooth and creamy, like soft serve.
  4. Transfer to an air tight container and freeze. You can eat the banana ice cream right away, or freeze it to get it more solid. It’s delicious either way!

Notes

*A food processor works well. I have used my blender, which isn’t very powerful, and it worked fine, it just takes a bit longer.

* One banana is approximately one serving.

*Keep blending until the bananas are smooth and creamy, like soft serve.

* Add in chocolate chips, nuts, dried fruits, peanut butter or anything you like. I’ve made banana ice cream with frozen strawberries and it’s very good. Be creative.

* Use this delicious chocolate topping Homemade Magic Shell

img_7235img_7236

img_7246img_7247img_7248img_7250

Food

Watergate Salad

dsc01011

Nothing says dessert in the 1970’s quite like Jell-O pudding and Cool Whip. No, this is not a green salad. It’s a treat that’s fluffy, sweet, and yummy! This type of pudding dessert has been around since the early 1900’s. The Watergate name has nothing to do with President Nixon, except the timing.

In 1975 Jell-O introduced pistachio pudding mix which coincided with the Watergate scandal. There are several stories as to the origin of the name. No one can say for sure why it’s called Watergate Salad. Originally this was called Pistachio Pineapple Delight. Some call this Pistachio Fluff, Green Goop, or Green Fluff. I prefer Watergate Salad, it’s attention getting. Whatever you want to call it, a delectable dessert is what this is. 

There is no cooking involved. You are just dumping ingredients in a bowl, and stirring it all together. How easy is that! Dump, mix, refrigerate, and eat. Enjoy this enticing, nostalgic recipe.

Do not let any unwholesome talk come out of your mouths, but only what is helpful for building others up according to their needs, that it may benefit those who listen. Ephesians 4:29

dsc01019

Watergate Salad

Ingredients 

3.4 oz instant pistachio pudding mix 

20 oz can crushed pineapple with juice

1 cup mini marshmallows

½ cup chopped walnuts

8 oz whipped topping thawed

Instructions 

  1. In a large mixing bowl add dry pudding mix, and the entire can of crushed pineapple, including the juice, marshmallows, and nuts. Stir until well combined.
  2. Gently fold in the whipped topping. Chill in the refrigerator for one hour.
  3. Garnish with additional whipped topping, nuts, and maraschino cherries. Enjoy!

Notes 

  • Do not drain the pineapple. 
  • Pineapple is very sweet on its own. Use pineapple in juice instead of syrup to cut some of the sweetness. 
  • Use whatever nuts you prefer like pecans, or pistachios.


dsc01010

Food

Mississippi Pot Roast

dsc01003

I love a simple dinner that just happens to be delicious. Mississippi pot roast is tender, flavorful, and no fuss. With just five ingredients, it can’t be any easier. Place everything in the crock pot and walk away for eight hours. It’s that easy. Make some mashed potatoes to go along with the wonderful gravy that results from meat, butter, and au jus cooking all day. Dinner is served.

The pepperoncinis add a nice, yet subtle, flavor. I like to add some of the pepperoncini juice to the slow cooker, but you don’t have to. Ranch dressing and au jus make the roast so tasty. If you want a super easy and super flavorful roast, give Mississippi pot roast a try. My family loves this recipe and I think you will too.

Blessed are those who hunger and thirst for righteousness, for they will be filled. Matthew 5:6

dsc01004

Mississippi Pot Roast

Ingredients

1 chuck roast (2 to 4 lbs.)

1 packet ranch dressing mix

1 packet au jus gravy mix

4 tablespoons butter

4 to 6 pepperoncinis


Instructions 

  1. Place the chuck roast in the slow cooker. Sprinkle ranch dressing mix and au jus gravy mix over the top of the roast. Put the butter and pepperoncinis on top of the mixes. 
  2. Cover and cook on low for 8 hours.
  3. Shred with forks and serve over mashed potatoes with the delicious gravy. Enjoy!


Notes

*Add a little of the juice from the pepperoncini jar for some added flavor.

*Use as little or as many pepperoncinis as you like.

*No water or liquid is needed. The juices from the meat and the butter will make plenty of gravy. 


dsc00990

dsc00994


dsc00999

Food

My Favorite Pumpkin Pie

dsc00982

I love pumpkin pie. I grew up with my mom making pumpkin pie using sweetened condensed milk, which is very good. Many years ago I was given this amazing pumpkin pie recipe using whipping cream, and I’ve never looked back. You’d think all pumpkin pies are the same. They are not.

Many store bought pumpkin pies are bland, and just not that great. I always prefer homemade over anything store bought. My only exception to this is the infamous Costco pumpkin pie. Those are delicious. The reason I love this pumpkin pie recipe is it makes a light, fluffy, and perfectly spiced custard pie, with just the right amount of sweet. Pumpkin pie can be a bit gelatinous, and this amazing recipe is light, creamy, and fabulous. 

Happy Thanksgiving!

I will praise God’s name in song and exalt Him with thanksgiving. Psalm 69:30

dsc00981

Pumpkin Pie

Yield: 1 pie

Ingredients

¼ teaspoon ginger

¼ teaspoon nutmeg

¼ teaspoon cloves

1 teaspoon cinnamon

pinch of salt

1 cup granulated sugar

2 eggs

1 (15oz) can of pumpkin

1 cup whipping cream

1 unbaked pie shell

Instructions

  1. Preheat oven to 425°
  2. In a large mixing bowl combine all dry ingredients. Beat in the eggs until the mixture is fluffy. Stir in the pumpkin, then stir in the whipping cream. 
  3. Pour pumpkin pie mixture into a prepared pastry filled pie pan. 
  4. Bake at 425° for 20 minutes. Reduce heat to 375° and bake an additional 30 minutes, or until a toothpick comes out clean. 
  5. Cool completely and enjoy!

Notes:

  • The pie will rise in the oven and get fluffy while cooking. Once it cools it will shrink down a little bit. 
  • If the crust is getting too dark while cooking, cut a 4 inch circle in the center of a square piece of aluminum foil. Loosely place on the pie while it finishes cooking.