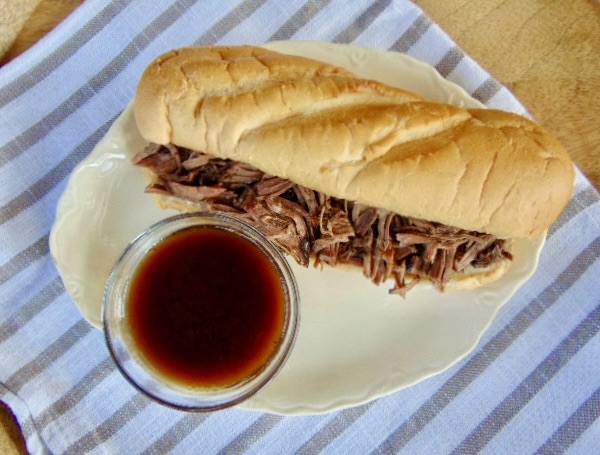
This savory sandwich is simple to make and a favorite in my family. While the roast is cooking it’s making the best au jus for dipping. Everything is done in the slow cooker. You simply drain the broth once the roast is cooked, shred the meat, and place on toasted rolls. It’s just that easy and so good!
Where did the French dip come from? The origins of this tasty sandwich begin in Los Angeles back in the early twentieth century. Two historic L.A. restaurants, Phillipe’s and Coles, claim to have invented the iconic French dip. It seems that there’s more documented evidence that Phillipe’s created the French dip. Either way, both restaurants still have this fantastic sandwich on their menus. I may have to take a road trip to investigate this for myself.
Happy Eating!
So we fix our eyes not on what is seen, but on what is unseen, since what is seen is temporary, but what is unseen is eternal. 2 Corinthians 4:18

French Dip
Yield: 6 to 8 sandwiches
Ingredients
Chuck roast (2 to 3 lbs.)
2 cups water
½ cup soy sauce
1 tsp rosemary
1 tsp thyme
1 tsp garlic powder
1/4 tsp whole peppercorns
8 hoagie rolls, toasted
Instructions
- In a slow cooker whisk together water, soy sauce, rosemary, thyme, garlic powder and peppercorns. Place the roast in the slow cooker.
- Cook on high for 6 hours or until beef is tender.
- Place cooked roast on a platter. Drain broth through a strainer and place the hot broth back in the slow cooker to keep warm.
- Shred the roast with forks.
- Place shredded meat on toasted rolls and serve with individual bowls of the au jus (juice) for dipping.


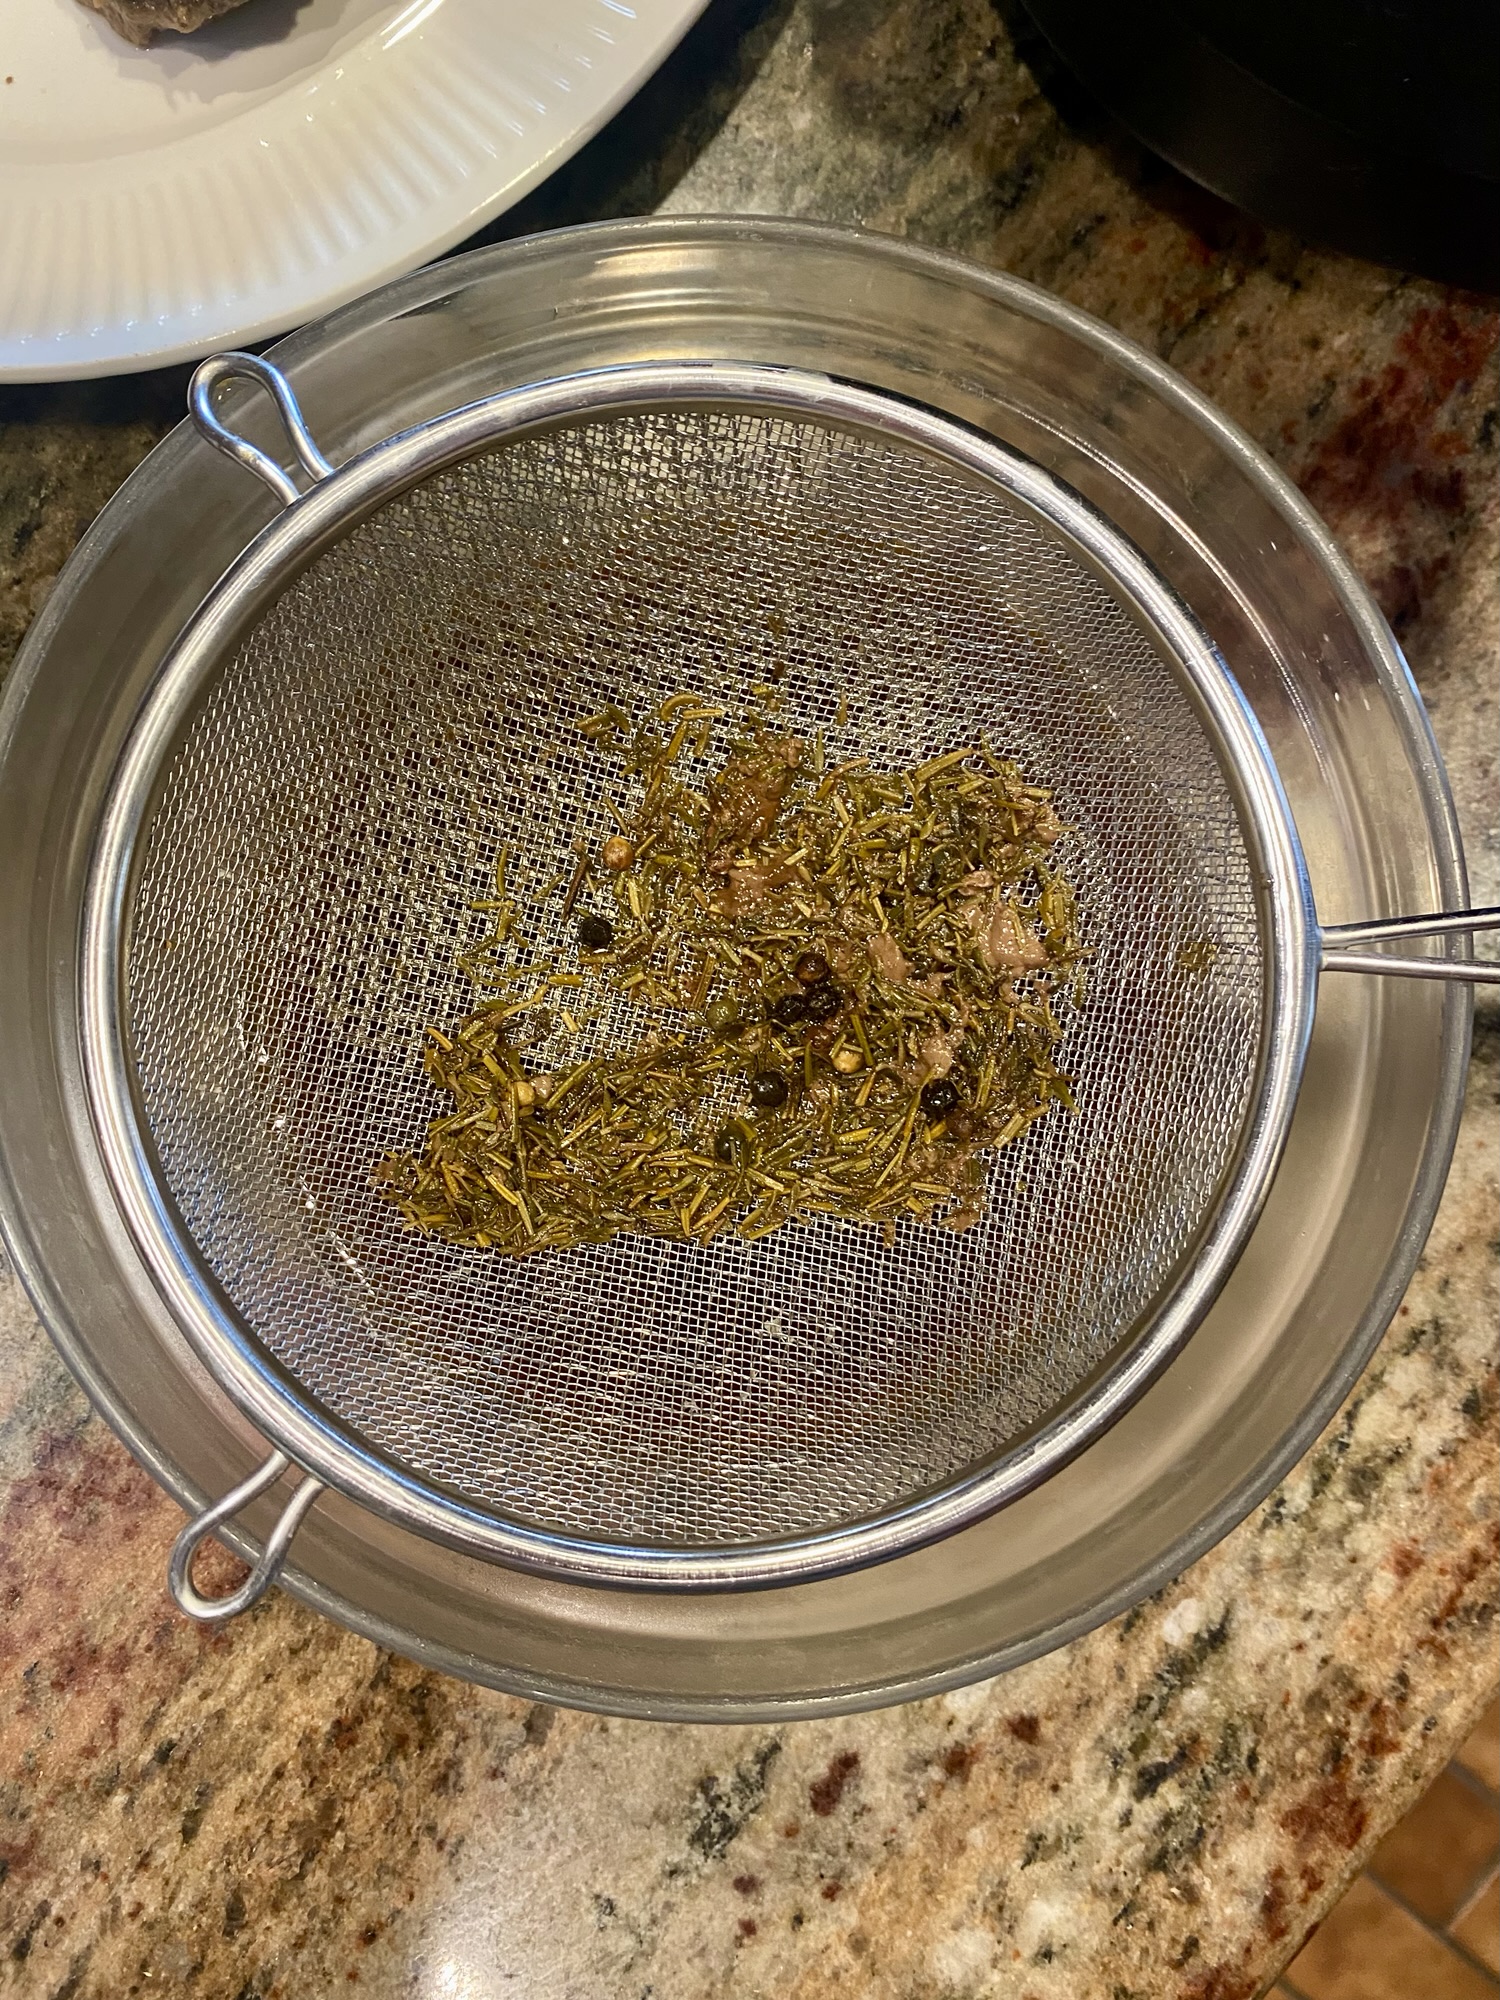
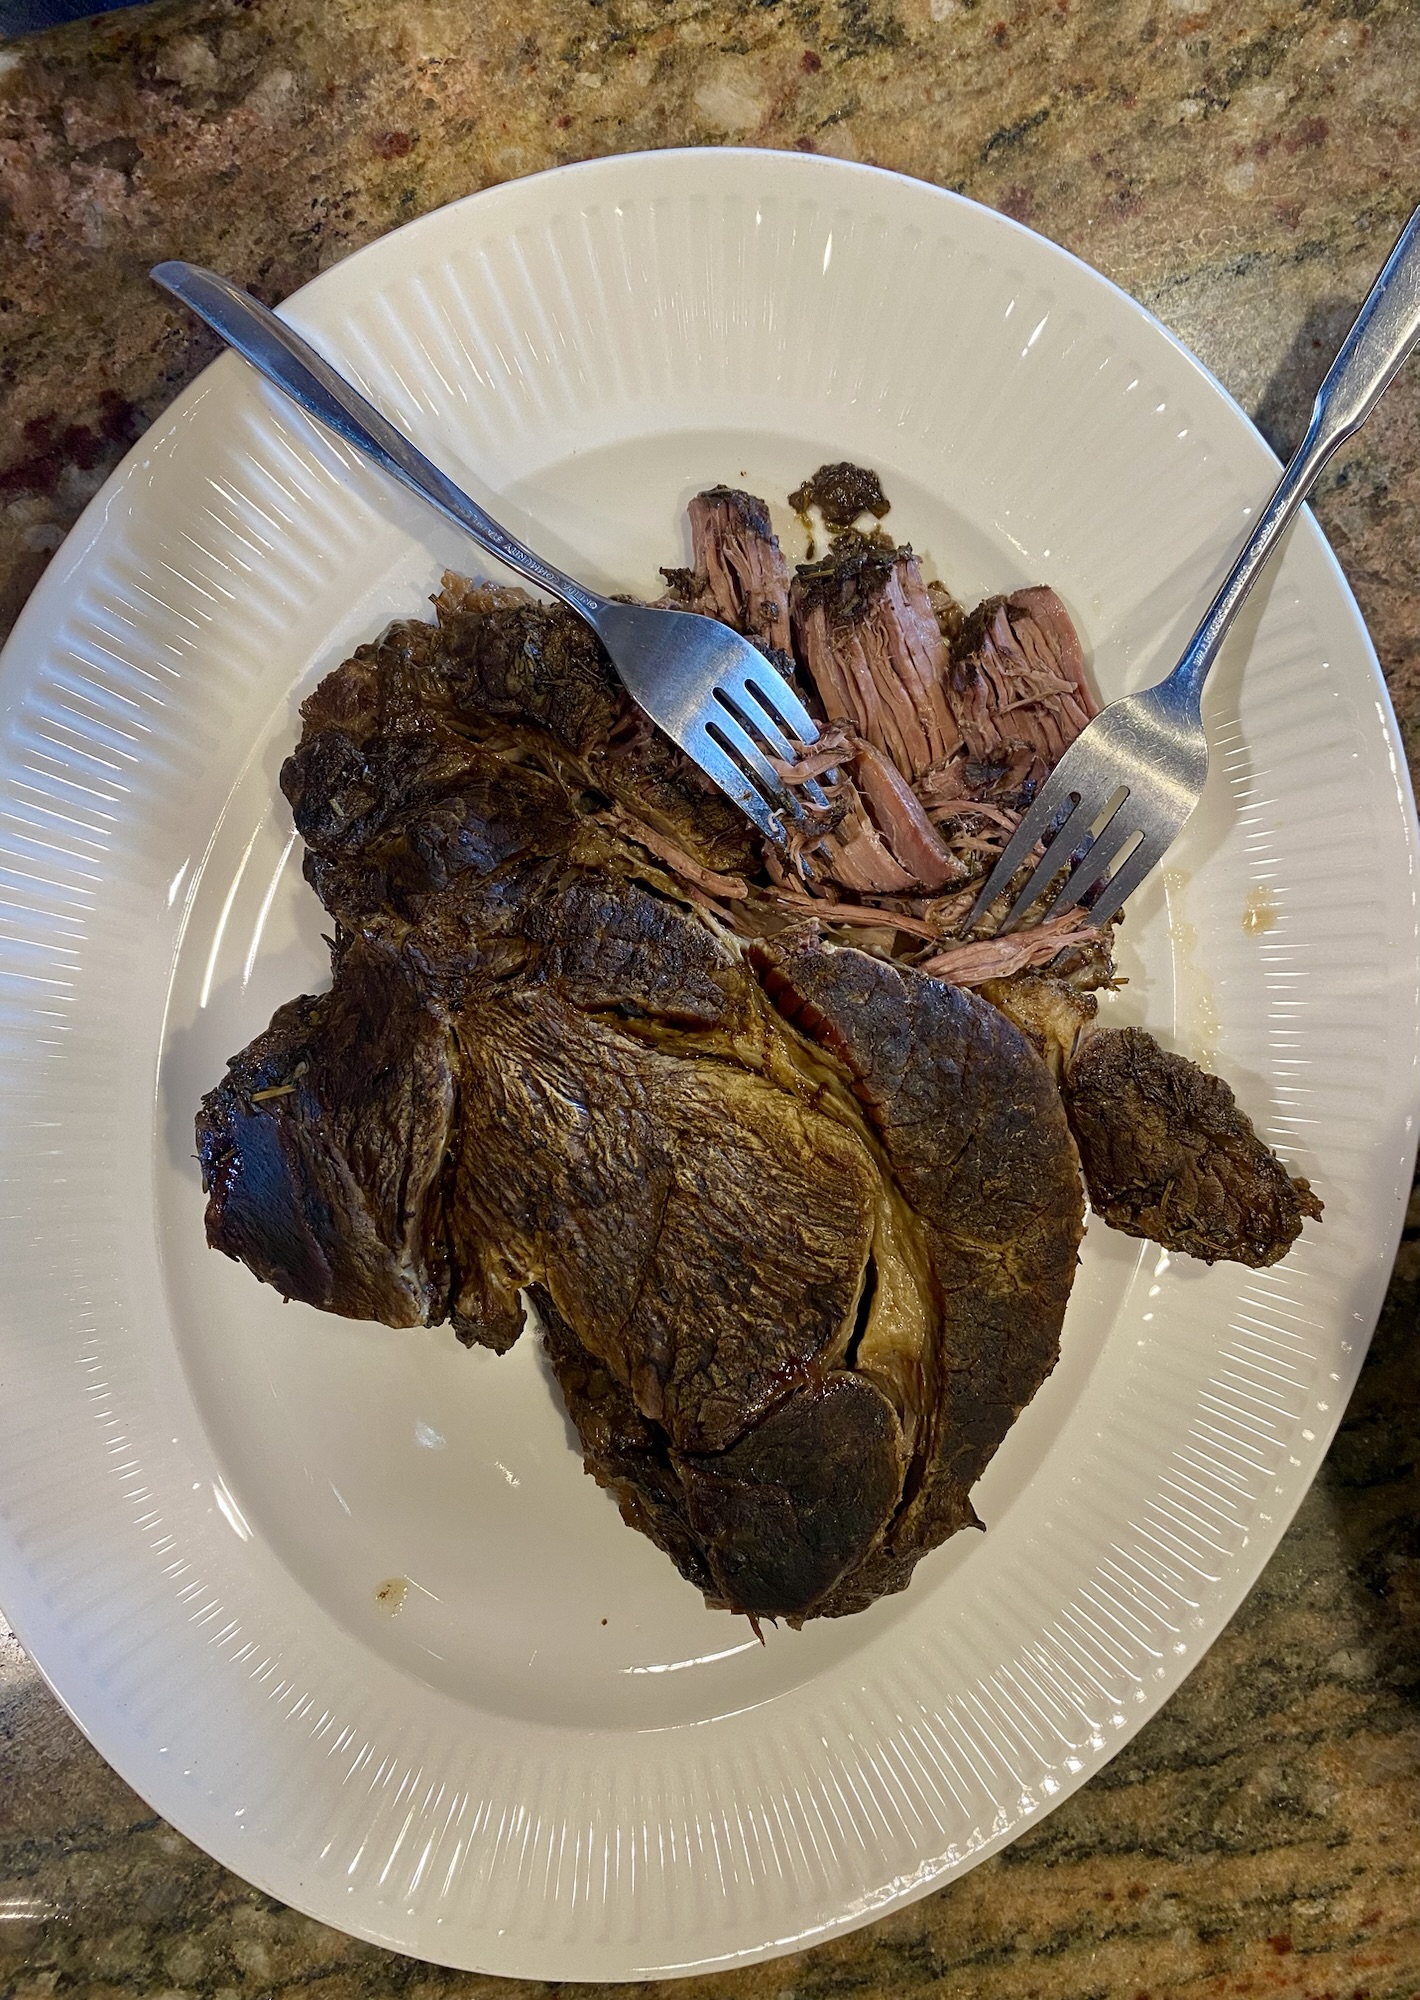
Photo Credits: Meghan E. White