Food

Lime Icebox Cake

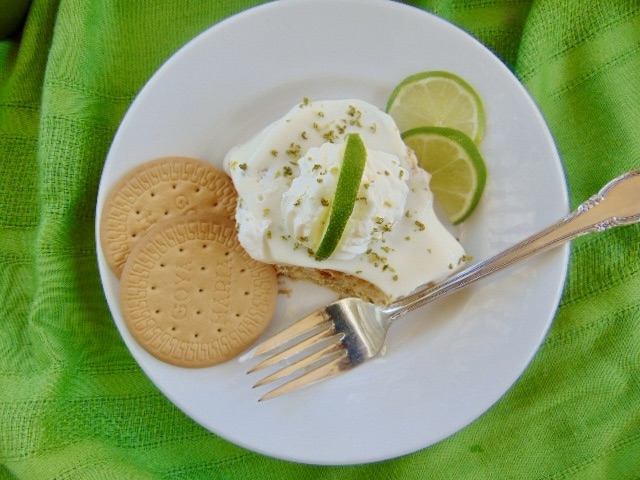
If you love cake like I do but don’t want to turn on the oven during the hot summer months, then an icebox cake will do the trick. What is an icebox cake? It’s a no-bake cake made from layers of cookies and whipped cream. The cookies soften as it sits in the refrigerator overnight creating a cake-like texture. This scrumptious cake tastes a lot like a key lime pie.

Carlota de limón (Mexican lime icebox cake) uses Maria cookies and that’s what I use. Maria cookies are similar to graham crackers. The Mexican version of this cake uses evaporated milk, which you can use. I chose heavy cream. Both are very good. If you cannot find Maria cookies use graham crackers instead.

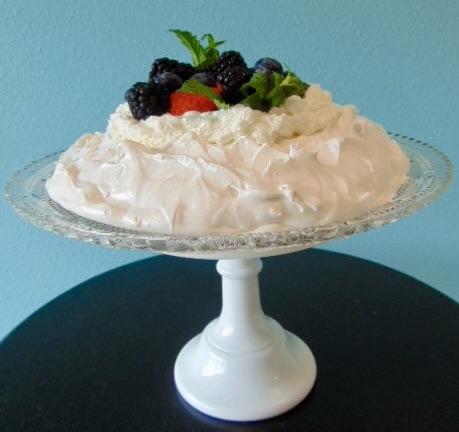
This easy yet impressive dessert will delight your family and friends.

Happy Eating!

And without faith it is impossible to please God. For anyone who approaches Him must believe that He exists and that He rewards those who earnestly seek Him. Hebrews 11:6

Lime Icebox Cake

Yield: 9 servings

Ingredients

One (14 oz.) can of sweetened condensed milk

One (8 oz.)  cup of heavy cream

¼ cup fresh squeezed lime juice (3 to 4 limes)

1 tsp. lime zest (1 lime)

1 ½ sleeves of Maria cookies (10 oz.) 
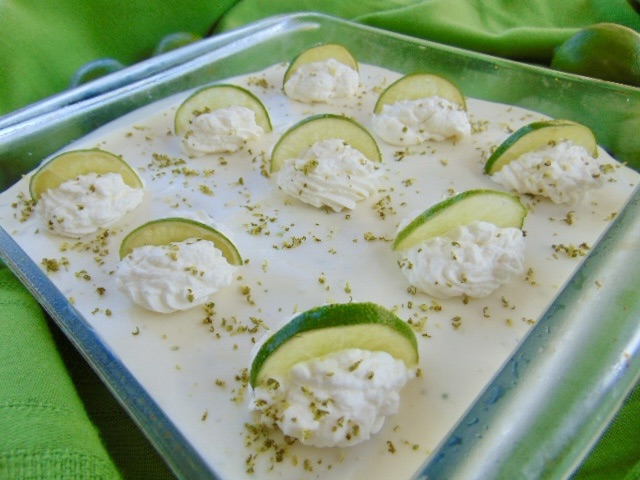
Optional Garnish:

Whipped cream

Lime zest

Lime slices

Maria cookies 

Instructions

  1. Zest 1 or 2 limes to get 1 teaspoon. Juice 3 to 4 limes to get ¼ cup. 
  2. Add the sweetened condensed milk and heavy cream to a mixing bowl and gently whisk for a minute. Add the lime zest and juice. Whisk for an additional couple of minutes until the mixture is thickened.
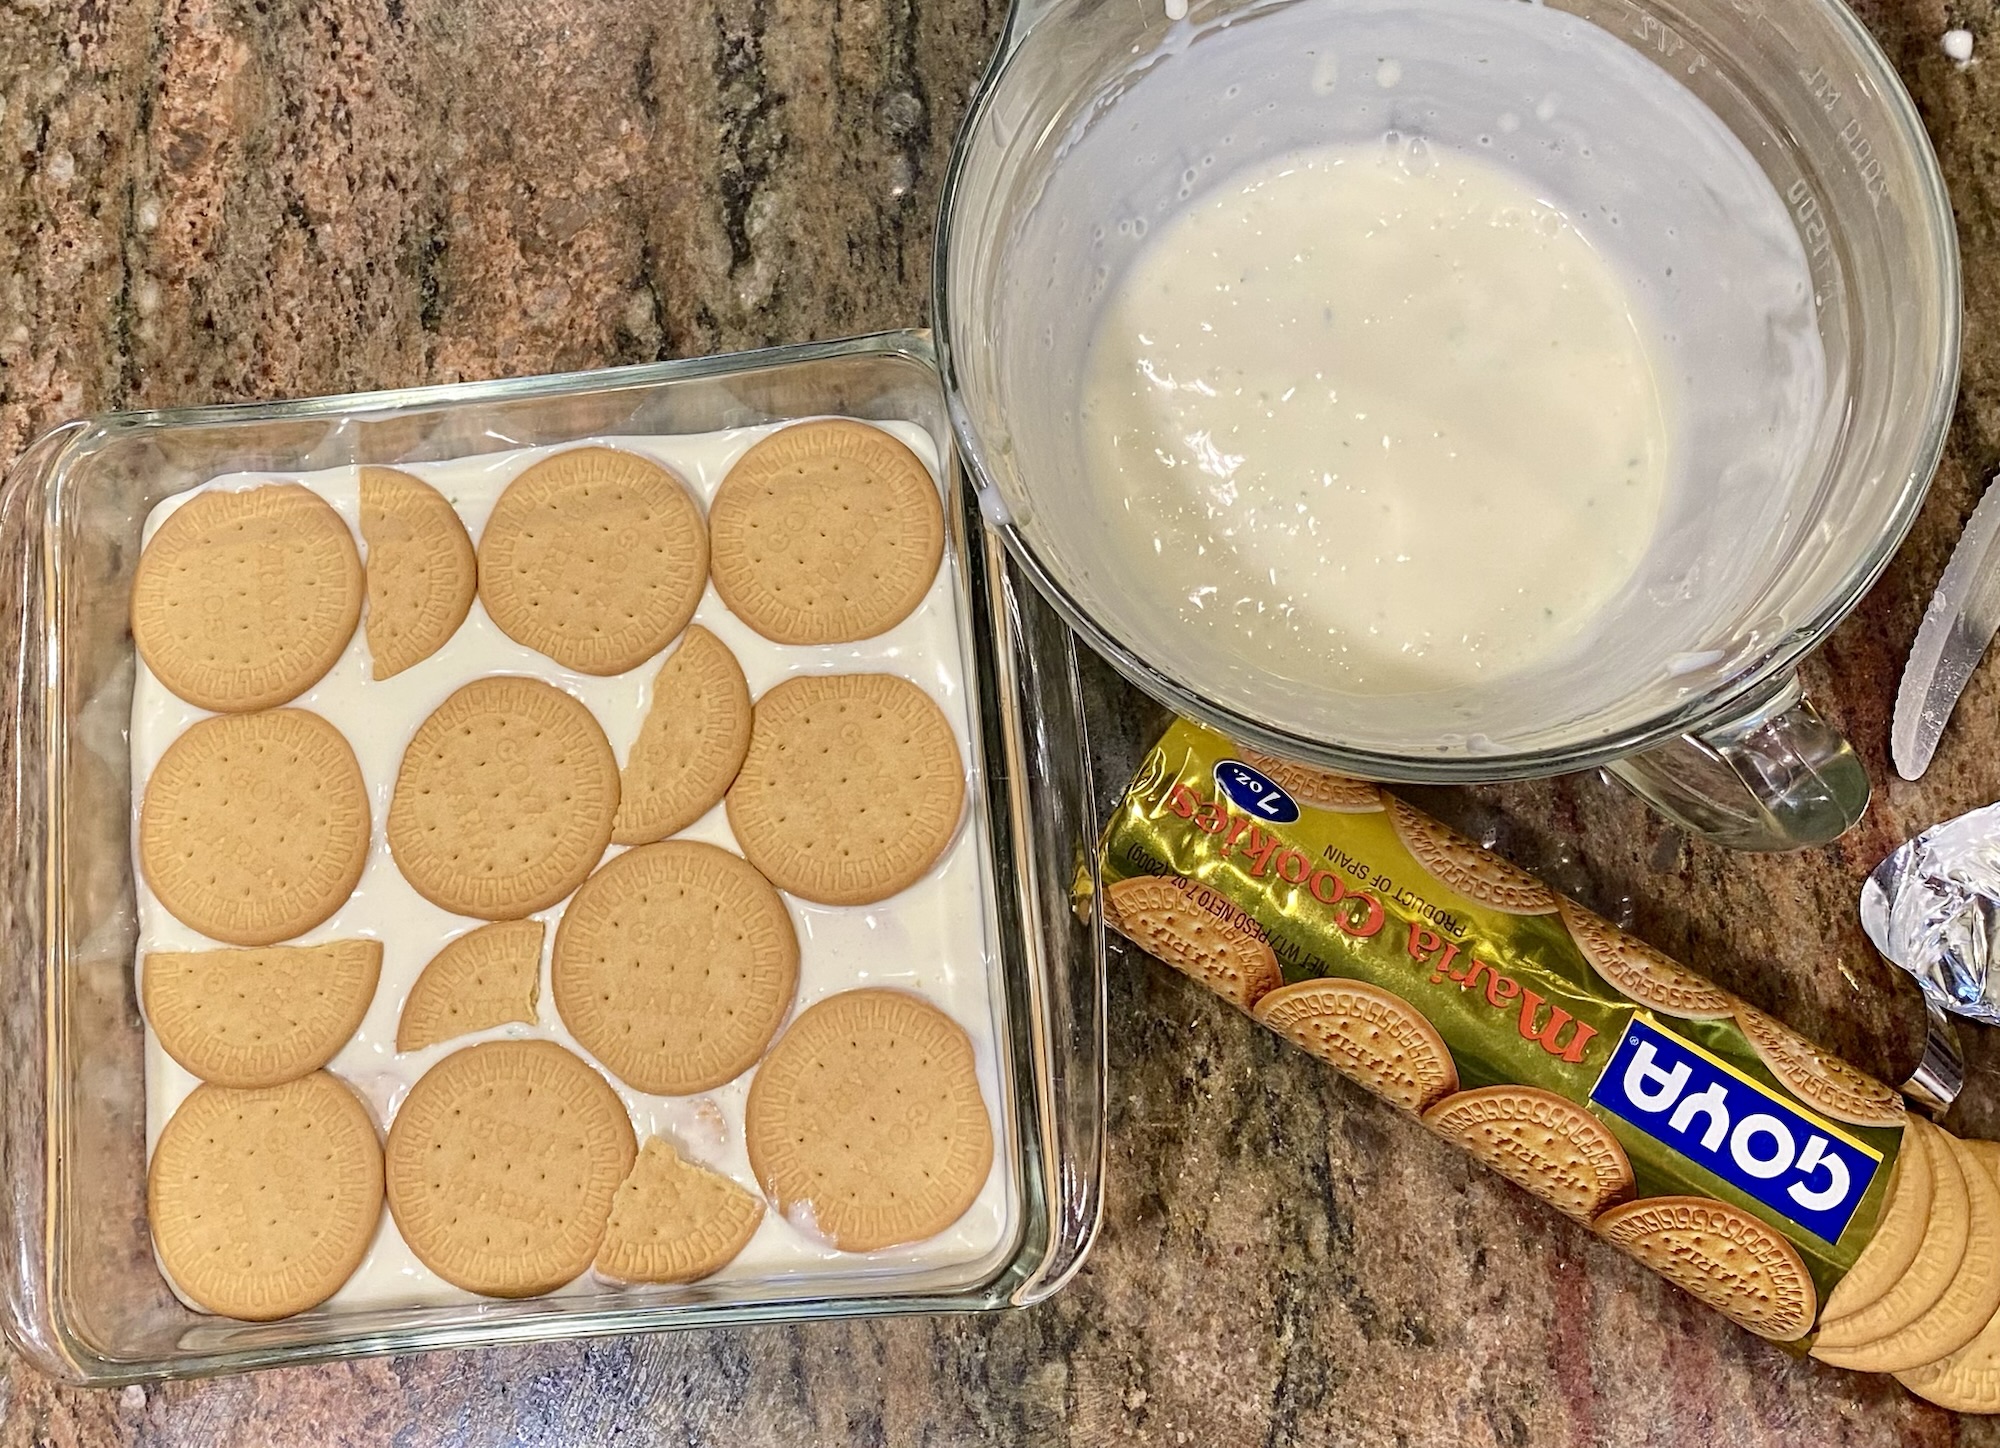
  3. Using an 8×8 baking dish pour a small amount of the filling on the bottom. Add a layer of the Maria cookies, breaking them into smaller pieces if needed to fill in.
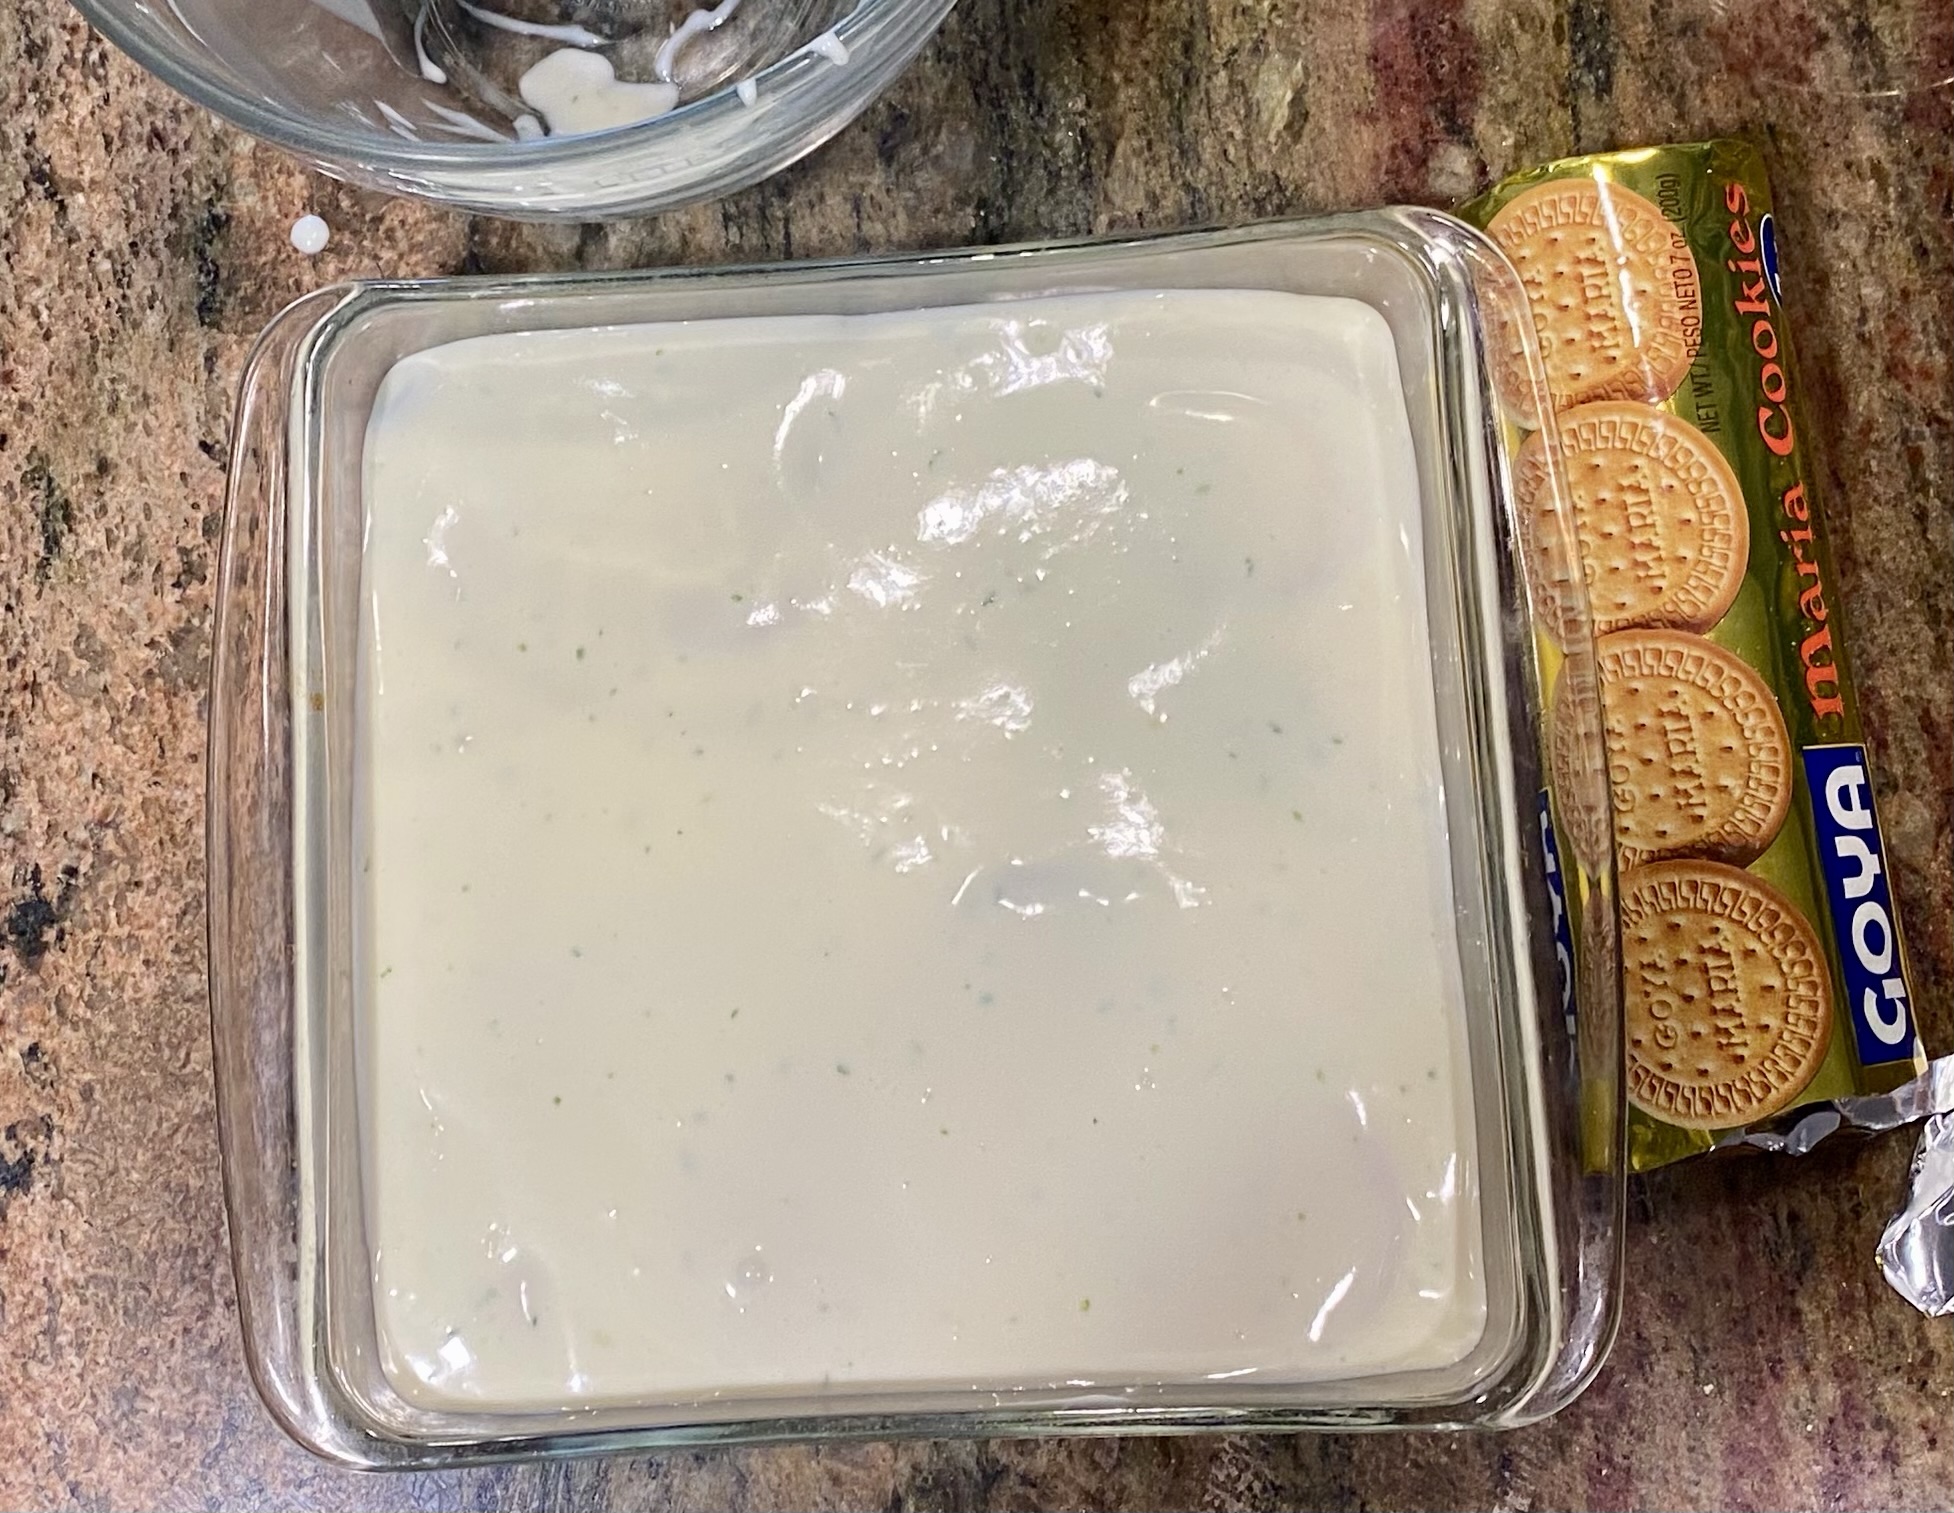
  4. Pour another layer of the filling, approximately ¼ to ⅓ cup on top of the cookie layer. Continue layering cookies and lime filling until it’s all gone, ending with just the lime mixture on the top. You should have 3 to 4 cookie layers, depending on your preference.
  5. Cover with plastic wrap and refrigerate for a minimum of 4 hours up to overnight.
  6. Enjoy your delicious icebox cake within a few days.

Notes:

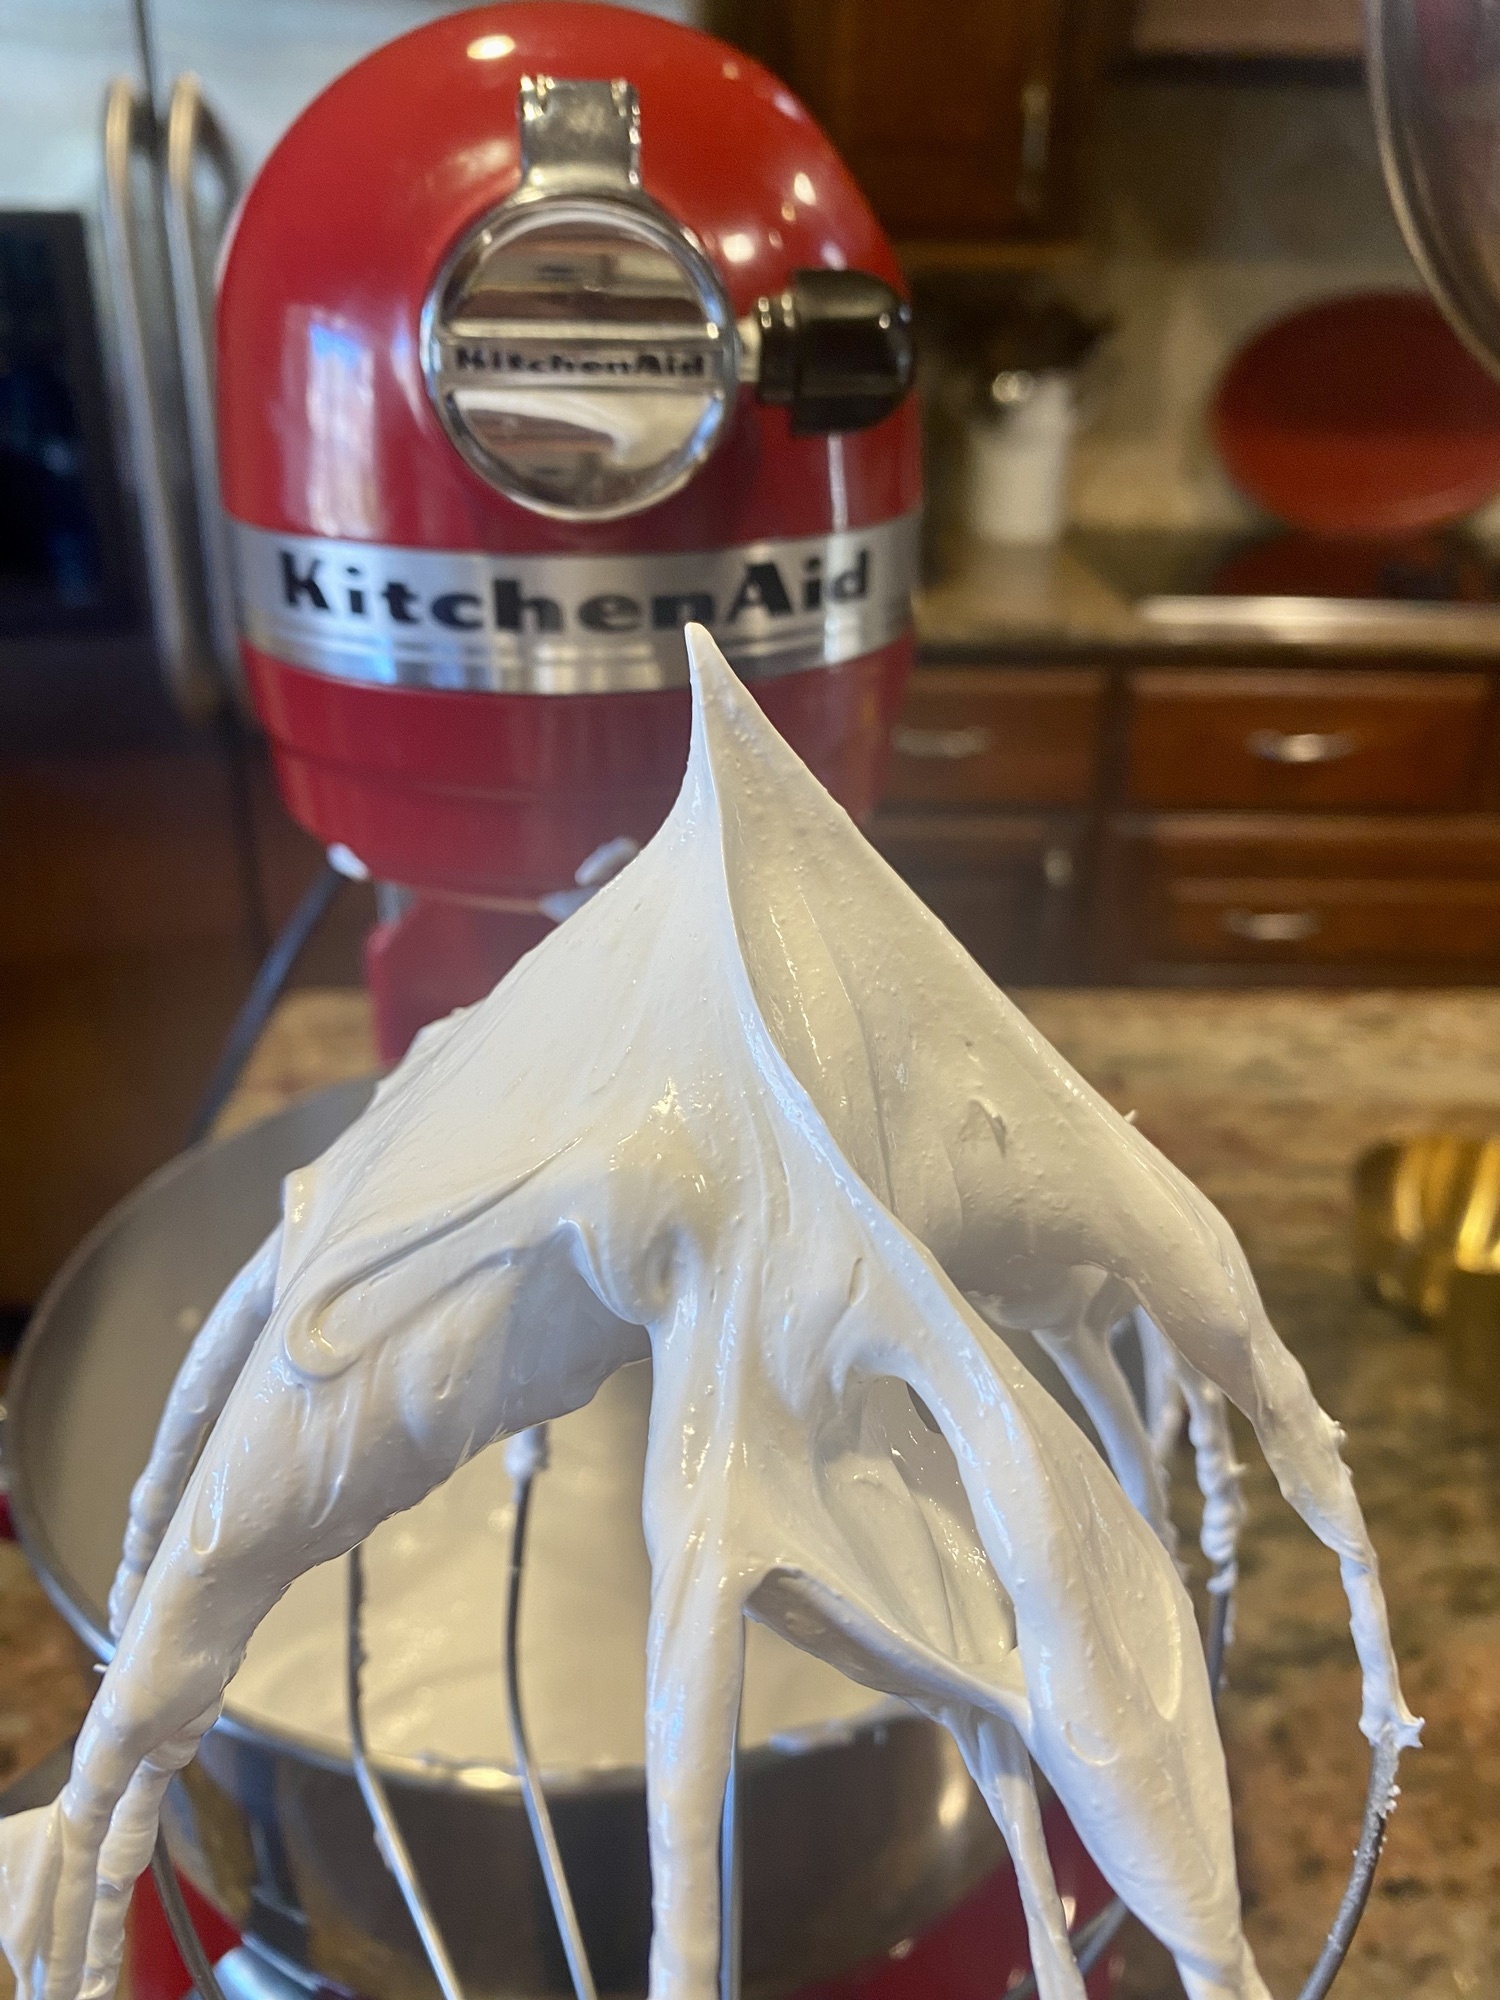
  • The filling will thicken as you whisk everything together, but it will still be a little runny. It will thicken as it sets up in the fridge.
  • Use a pie plate, or any baking dish you prefer.
  • One sleeve of Maria cookies will make 3 layers in an 8×8 pan.

Food

Pavlova

dsc01140-1

Pavlova is a fantastic meringue dessert that melts in your mouth. It’s light, airy, and crunchy on the outside, with a soft marshmallow inside. The addition of whipped cream and fruit makes this dreamy confection absolute perfection, in my opinion.

You can make your very own pavlova. It may look and sound intimidating to make a meringue cake, if you’ve never made one, but you can do it! With a few simple ingredients, in no time you will have a beautiful dessert for your next holiday, or gathering, or just to enjoy yourself.

And, a little side note on the origins of this wondrous treat; there is debate whether pavlova came from Australia or New Zealand. Either way, it’s delicious. The name is from Russian ballerina Anna Pavlova. Traditionally, it’s topped with passion fruit, but you can use whatever fruit you like. A little history lesson. Now, on to the recipe we go.

Happy Eating!

Have I not commanded you? Be strong and courageous. Do not be afraid; do not be discouraged, for the LORD your God will be with you wherever you go. Joshua 1:9

dsc01139-1

Pavlova 

Special equipment needed: stand mixer or hand mixer

Ingredients

4 egg whites at room temperature

1 cup granulated sugar

1/2 Tablespoon corn starch

1 teaspoon white vinegar

1 teaspoon vanilla

Instructions 

  1. Preheat oven to 200°.
  2. Line a baking sheet with parchment and trace a 9-inch circle around a baking pan onto the paper. 
  3. Using the whisk attachment, place room temp egg whites in your mixing bowl and start the mixer on low. Mix for about 2 minutes until the egg whites get foamy.
  4. Now turn up the mixer to medium until you get soft peaks. The egg whites will be fluffy and hold their shape. This will take several minutes.
  5. Next, slowly add the sugar a spoonful at a time while the mixer is running at medium speed. Wait about 30 seconds between each spoonful as the mixer runs. 
  6. Once all the sugar has been mixed in, turn up the mixer to medium high until you get stiff peaks, and the mixture is thick and glossy. Check that all the sugar is dissolved by taking some of the mixture between your thumb and forefinger to feel for granules. Continue mixing until all sugar is dissolved and stiff peaks have formed. 
  7. Now add the corn starch, vinegar, and vanilla and mix on low just until incorporated. 
  8. Spoon the meringue onto the 9-inch circle on the parchment paper leaving a small shallow spot in the middle with the edges being slightly higher. 
  9. Bake for 1 hour, then turn off the oven, leaving the meringue in the oven for another hour. After the 2 hours you can take the meringue out of the oven or you can leave it in the oven overnight. 
  10. When you’re ready to serve the pavlova top with whipped cream and fresh fruit. Enjoy!

Notes

  • Cracks in a pavlova are quite normal and it will still taste delicious.
  • Add the whipped cream and fruit right before serving or slice individual pieces and add toppings separately. The pavlova will start to soften once fruit and cream has been added so it will lose some of its crispness. 
  • Store a decorated pavlova in the refrigerator for up to 2 days. A plain pavlova with no whipped cream or fruit can be kept in an airtight container in the pantry for 2 days. 
  • Vinegar and corn starch will stabilize the pavlova and help prevent weeping.
  • Leaving the pavlova in the oven overnight to slowly cool will help prevent cracks.

img_6879

Soft peaks.

img_6880

Stiff peaks.

img_7869

Trace a circle on the parchment paper.

img_7870

Ready to go in the oven. Make lots of swirls as they add great texture.

img_7871img_7872

Once the pavlova is cooked it will still look glossy, just slightly dull.

dsc01133-1

Top with whipped cream and berries. Enjoy!


Photo credits: Meghan E. White 

Food, mustard seed sentinel

Overnight Oats

dsc00385

If you want to change up your breakfast routine try these fantastic overnight oats. They are creamy, delicious, and nutritious. Make individual servings, or make a large batch for the whole week. A few minutes of prep the night before, and you’ve got a healthy meal for the morning. 

Instead of cooking oats on the stove or in the microwave, leaving them to sit for several hours in milk softens them up as if they were cooked. It’s just a non-cooking way to make old fashioned oats. And let me assure you, they are so good. If you love oatmeal then you will love overnight oats.

The sky’s the limit as to what type of toppings you can add. Once you make the base recipe add any fruits, seeds, or nuts of your choosing. The beauty of this nutrition packed breakfast is customizing it to your liking. 

I love the addition of chia seeds since they are loaded with good stuff. Chia seeds are one of the most nutritious foods. They have plenty of fiber, protein, omega-3 fatty acids, and antioxidants. Chia seeds are tiny but they do add some nice texture to the oats.

Overnight oats are beneficial to your health, and they taste really good too. That’s a winning combo. Have fun with this recipe.

Happy Eating!

For we are God’s workmanship, created in Christ Jesus to do good works, which God prepared in advance for us to do. Ephesians 2:10 

dsc00384

Overnight Oats

Ingredients

½ cup old fashioned rolled oats

½ cup milk

¼ cup whole milk Greek yogurt

1 tablespoon chia seeds

1 tablespoon maple syrup or honey

Directions 

  1. In a small jar add oats, milk, yogurt, chia seeds, and maple syrup or honey. 
  2. Stir to combine the ingredients. Cover with a lid or plastic wrap.
  3. Refrigerate for at least 2 hours up to overnight.
  4. Stir the oats before serving. Add the toppings. Enjoy!

Notes 

  • Old fashioned oats are ideal. Steel cut oats don’t soften up. Quick oats get soggy.
  • Milk. Use almond milk, oat milk, coconut milk, or any non-dairy milk as an alternative.
  • Yogurt. You can swap out dairy based yogurt for plant based. Or omit the yogurt.
  • Other add-ins. Add vanilla extract or almond extract. Add peanut butter, jams, dried fruits, protein powder, peanut butter powder, cinnamon, nutmeg, flax seed, or anything else you like. Be creative.
  • Add fresh fruit and toppings just before serving. The fruit and nuts will get mushy if they sit mixed in the oats overnight. 
  • Enjoy the oats cold or warm. Just heat them up for a minute or two in the microwave if you prefer warm oats. Both cold and warm are delicious.
  • Use any type of jar or glassware. Make sure to cover with plastic wrap or a lid.
  • You can make a large batch. If you don’t want to make individual servings just increase the ingredients and mix in a large bowl. Cover the bowl, refrigerate overnight, and scoop out the amount you want each morning. 
  • Overnight oats will keep in the refrigerator for up to 5 days.

dsc00391

Strawberry:

Fresh strawberries chopped 

2 tablespoons strawberry fruit spread

2 tablespoon cashews chopped

dsc00394

Banana:

Sliced banana 

2 tablespoons peanut butter

2 tablespoons peanuts chopped

dsc00392

Raspberry:

Fresh raspberries

1 tablespoon slivered almonds

dsc00393

Blueberry:

Fresh blueberries

2 tablespoons pistachios chopped 


Go to the link below for this recipe and more. I write a monthly article for Mustard Seed Sentinel called Meghan’s Corner. Mustard Seed Sentinel is a faith based publication that includes recipes, book reviews, and so much more. Check it out and subscribe for great content. 

https://www.mustardseedsentinel.com/post/meghan-s-corner-overnight-oats

Faith, Food, Uncategorized

Olive Crostini

B15BDF09-B063-46F5-A633-869C3807A5ED


This easy scrumptious recipe was given to me many years ago by a coworker. Her sister was a caterer and used this crostini often. I too have used it often over the years, but took a break from it until recently. It was fun to make it again. Olive Crostini has always been a big hit when I’ve made it for gatherings. Throw in a salad, and make a light meal out of it.

I have one funny story involving this appetizer. For quite a few years I hosted a Christmas party and olive crostini became a staple. My husband was mixing this olive spread using the blender. It gets pretty thick, so he stuck a large plastic spoon in the blender to unstick everything and accidentally hit one of the buttons. Well, a large chunk of the spoon was taken off by the blade from the blender. As he was fishing out plastic from the olive spread the doorbell rang. The show must go on, so the olive crostini went in the oven with God only knows how many bits of plastic. 

Now that I’ve confessed, you may never want to eat anything I share with you. Please forgive me. And also know, cooking mishaps are unavoidable. Whether we’ve eaten trace amounts of plastic, or burned food, or over salted, or used expired ingredients.  What doesn’t kill us makes us stronger, right? My conscience is clear. Confession really is good for the soul. 

On with the recipe. The flavor combos are delectable. I love the contrast of the slightly bitter green olives with the creamy jack cheese. You can easily make the spread several days before your event. It keeps in the fridge for at least a week or two. You can even freeze the olive spread, but you won’t have to because it will get eaten up.


Happy Eating!


Then Jesus declared, “I am the bread of life. Whoever comes to me will never go hungry, and whoever believes in me will never be thirsty.

John 6:35


Olive Crostini 

  • 6 oz. can black olives, drained
  • 6 oz. jar green olives with pimentos, drained 
  • 4 to 5 garlic cloves
  • ⅓ cup olive oil
  • ½ cup butter, softened
  • 1½ cups Monterey jack cheese
  • 1 cup fresh parmesan cheese 
  • 1or 2 Baguettes 


  • In a food processor:
  • Add 6 oz. black olives and chop 
  • Add the garlic cloves and chop
  • Add olive oil and blend
  • Add 6 oz jar green olives and chop
  • Add butter and blend


  • In a mixing bowl:
  • Place the olive mixture from the food processor.
  • Stir in the jack and parmesan cheeses.


  • Thinly slice a baguette.
  • Spread about a tablespoon of the olive spread on each baguette slice.
  • Cook under the broiler for 2 to 4 minutes until lightly browned and bubbly.


  •  Notes 
  • This spread makes enough for at least 2 baguettes.
  • You can experiment with different olives.
  • Store leftover spread in the refrigerator.
  • You can use a blender if you don’t have a food processor, or just chop by hand.
  • The consistency you want is a coarse paste.


You can read my latest article here:

https://www.mustardseedsentinel.com/post/meghan-s-corner-olive-crostini

Check out https://www.mustardseedsentinel.com/  for plenty of great content from book reviews to parenting advice, all from a Christian perspective.