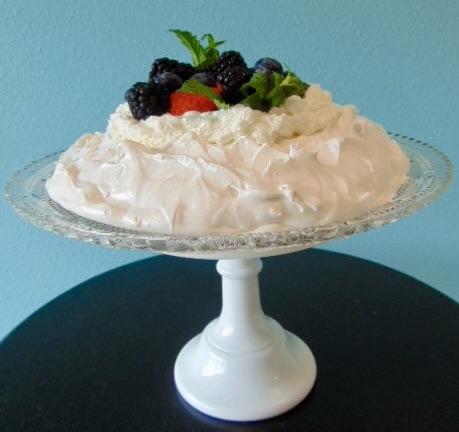
Pavlova is a fantastic meringue dessert that melts in your mouth. It’s light, airy, and crunchy on the outside, with a soft marshmallow inside. The addition of whipped cream and fruit makes this dreamy confection absolute perfection, in my opinion.
You can make your very own pavlova. It may look and sound intimidating to make a meringue cake, if you’ve never made one, but you can do it! With a few simple ingredients, in no time you will have a beautiful dessert for your next holiday, or gathering, or just to enjoy yourself.
And, a little side note on the origins of this wondrous treat; there is debate whether pavlova came from Australia or New Zealand. Either way, it’s delicious. The name is from Russian ballerina Anna Pavlova. Traditionally, it’s topped with passion fruit, but you can use whatever fruit you like. A little history lesson. Now, on to the recipe we go.
Happy Eating!
Have I not commanded you? Be strong and courageous. Do not be afraid; do not be discouraged, for the LORD your God will be with you wherever you go. Joshua 1:9
Pavlova
Special equipment needed: stand mixer or hand mixer
Ingredients
4 egg whites at room temperature
1 cup granulated sugar
1/2 Tablespoon corn starch
1 teaspoon white vinegar
1 teaspoon vanilla
Instructions
- Preheat oven to 200°.
- Line a baking sheet with parchment and trace a 9-inch circle around a baking pan onto the paper.
- Using the whisk attachment, place room temp egg whites in your mixing bowl and start the mixer on low. Mix for about 2 minutes until the egg whites get foamy.
- Now turn up the mixer to medium until you get soft peaks. The egg whites will be fluffy and hold their shape. This will take several minutes.
- Next, slowly add the sugar a spoonful at a time while the mixer is running at medium speed. Wait about 30 seconds between each spoonful as the mixer runs.
- Once all the sugar has been mixed in, turn up the mixer to medium high until you get stiff peaks, and the mixture is thick and glossy. Check that all the sugar is dissolved by taking some of the mixture between your thumb and forefinger to feel for granules. Continue mixing until all sugar is dissolved and stiff peaks have formed.
- Now add the corn starch, vinegar, and vanilla and mix on low just until incorporated.
- Spoon the meringue onto the 9-inch circle on the parchment paper leaving a small shallow spot in the middle with the edges being slightly higher.
- Bake for 1 hour, then turn off the oven, leaving the meringue in the oven for another hour. After the 2 hours you can take the meringue out of the oven or you can leave it in the oven overnight.
- When you’re ready to serve the pavlova top with whipped cream and fresh fruit. Enjoy!
Notes
- Cracks in a pavlova are quite normal and it will still taste delicious.
- Add the whipped cream and fruit right before serving or slice individual pieces and add toppings separately. The pavlova will start to soften once fruit and cream has been added so it will lose some of its crispness.
- Store a decorated pavlova in the refrigerator for up to 2 days. A plain pavlova with no whipped cream or fruit can be kept in an airtight container in the pantry for 2 days.
- Vinegar and corn starch will stabilize the pavlova and help prevent weeping.
- Leaving the pavlova in the oven overnight to slowly cool will help prevent cracks.

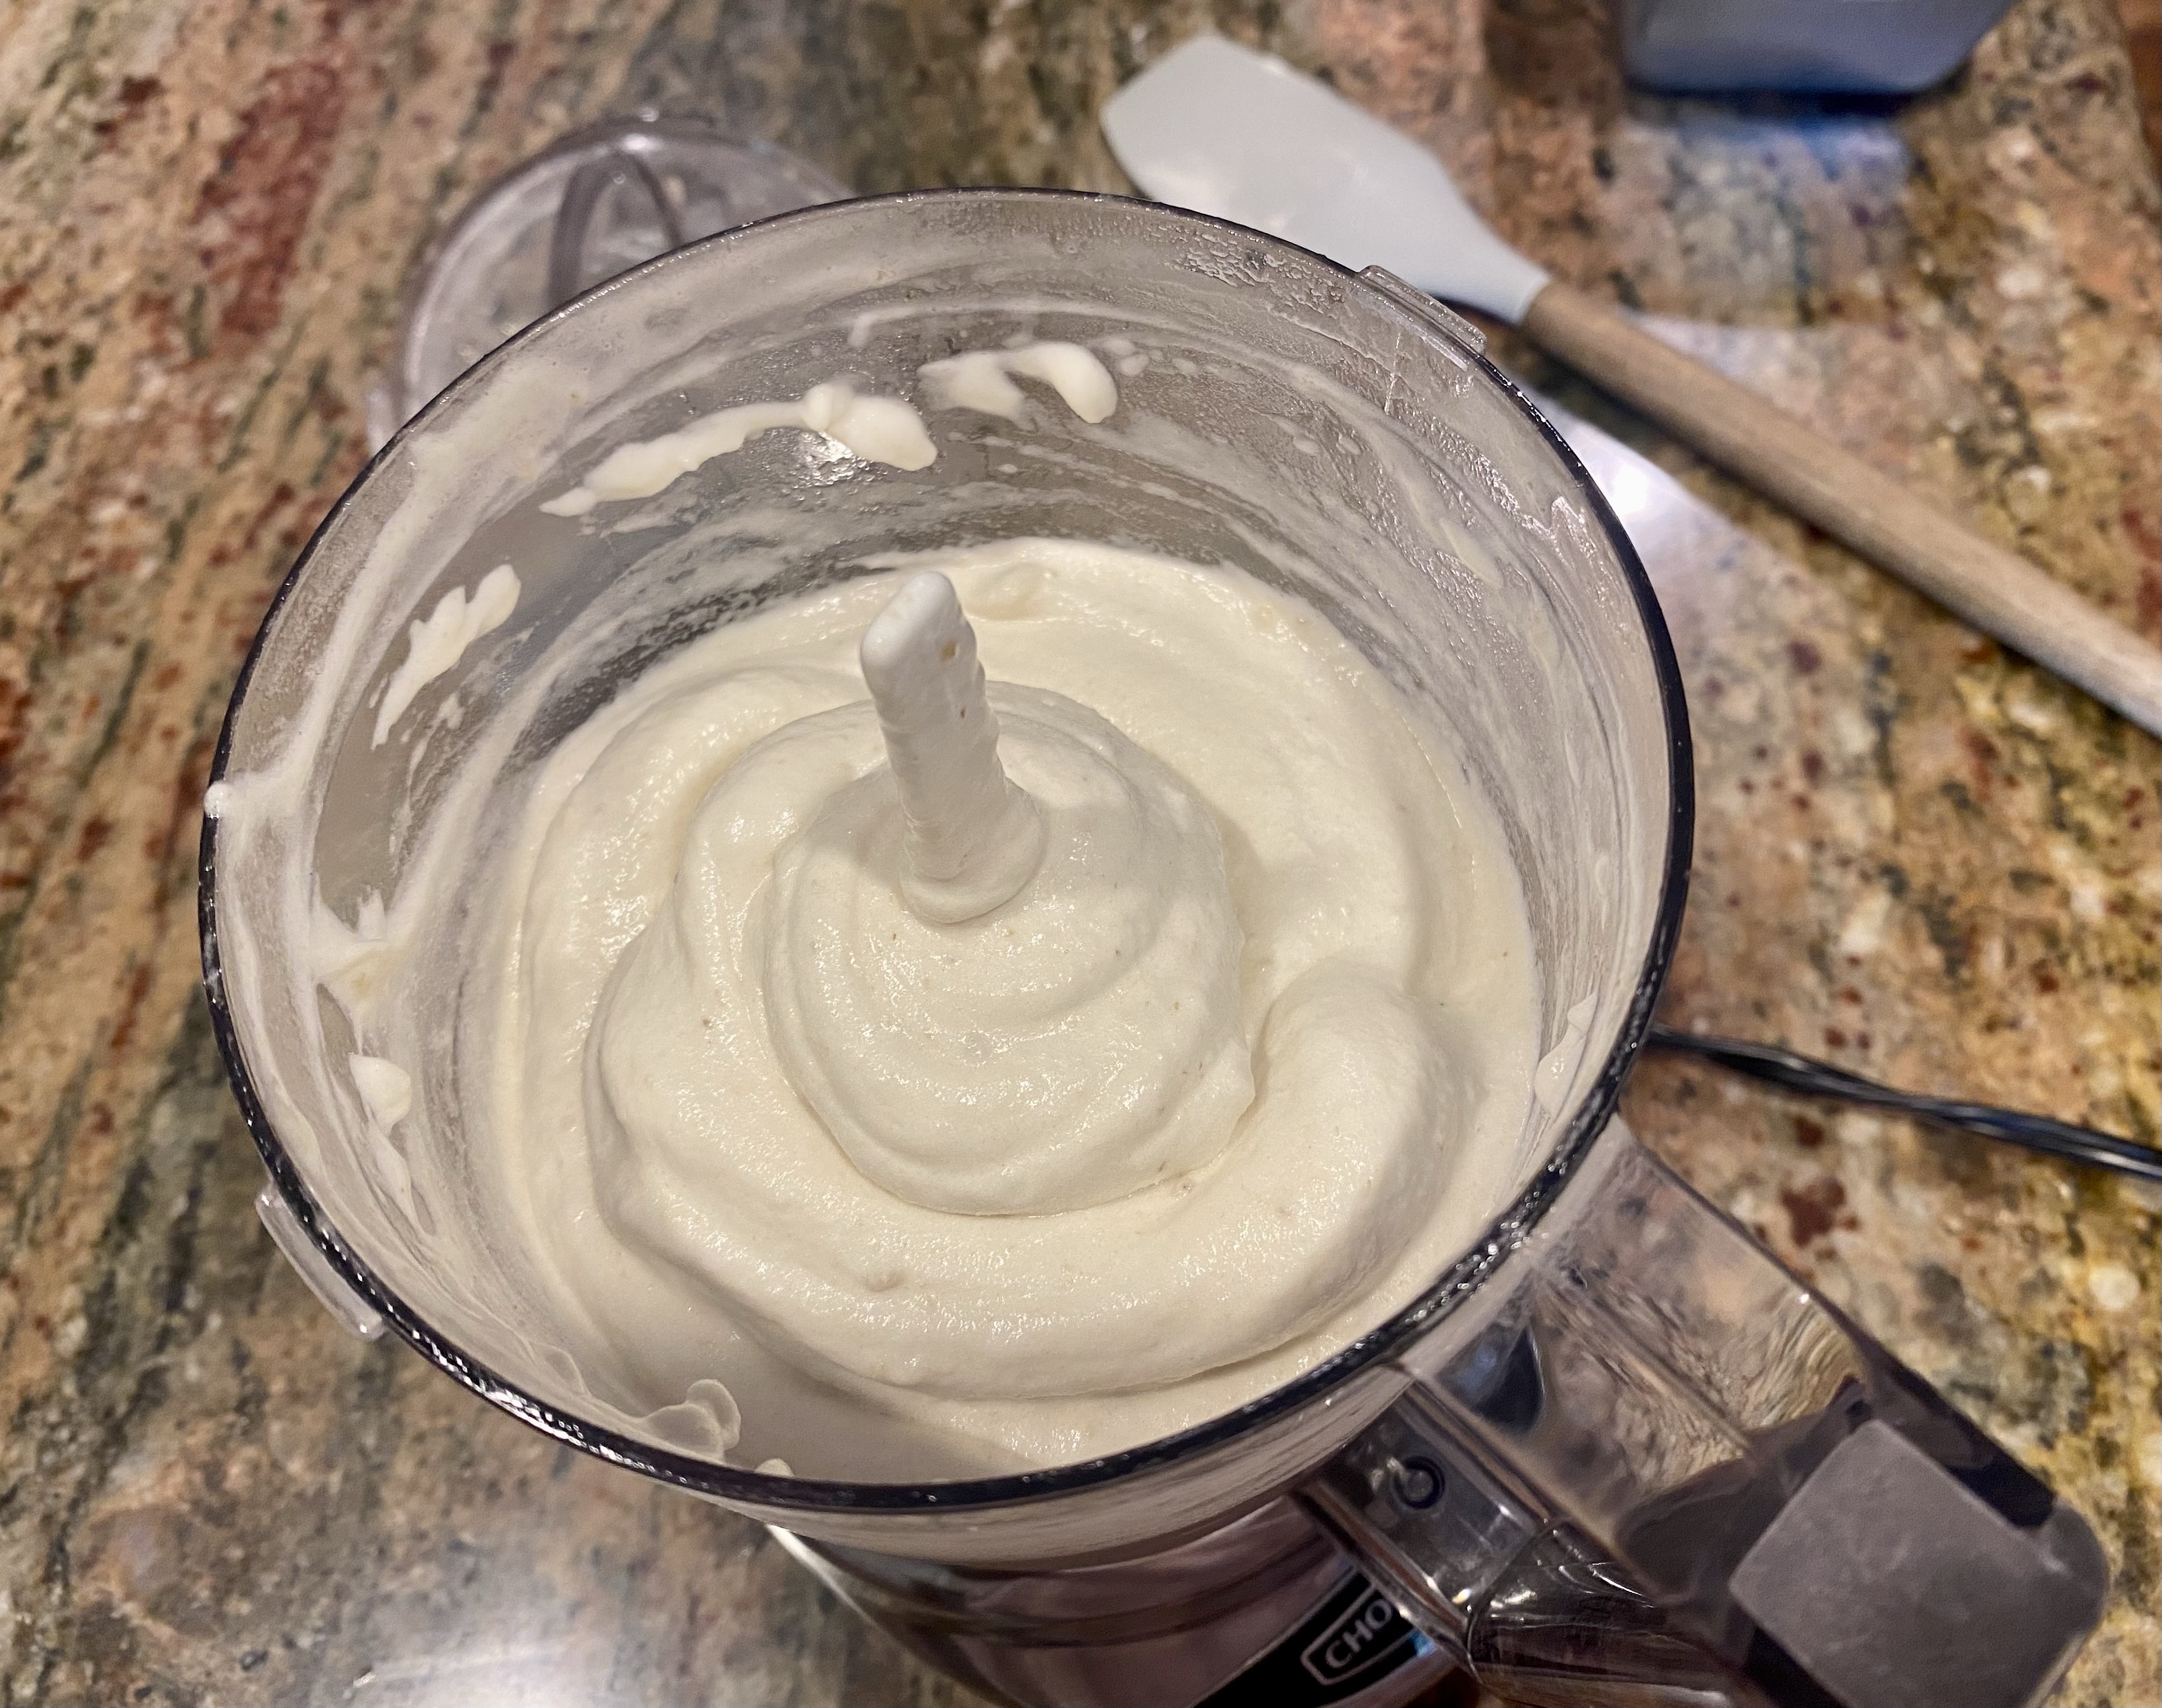
Soft peaks.
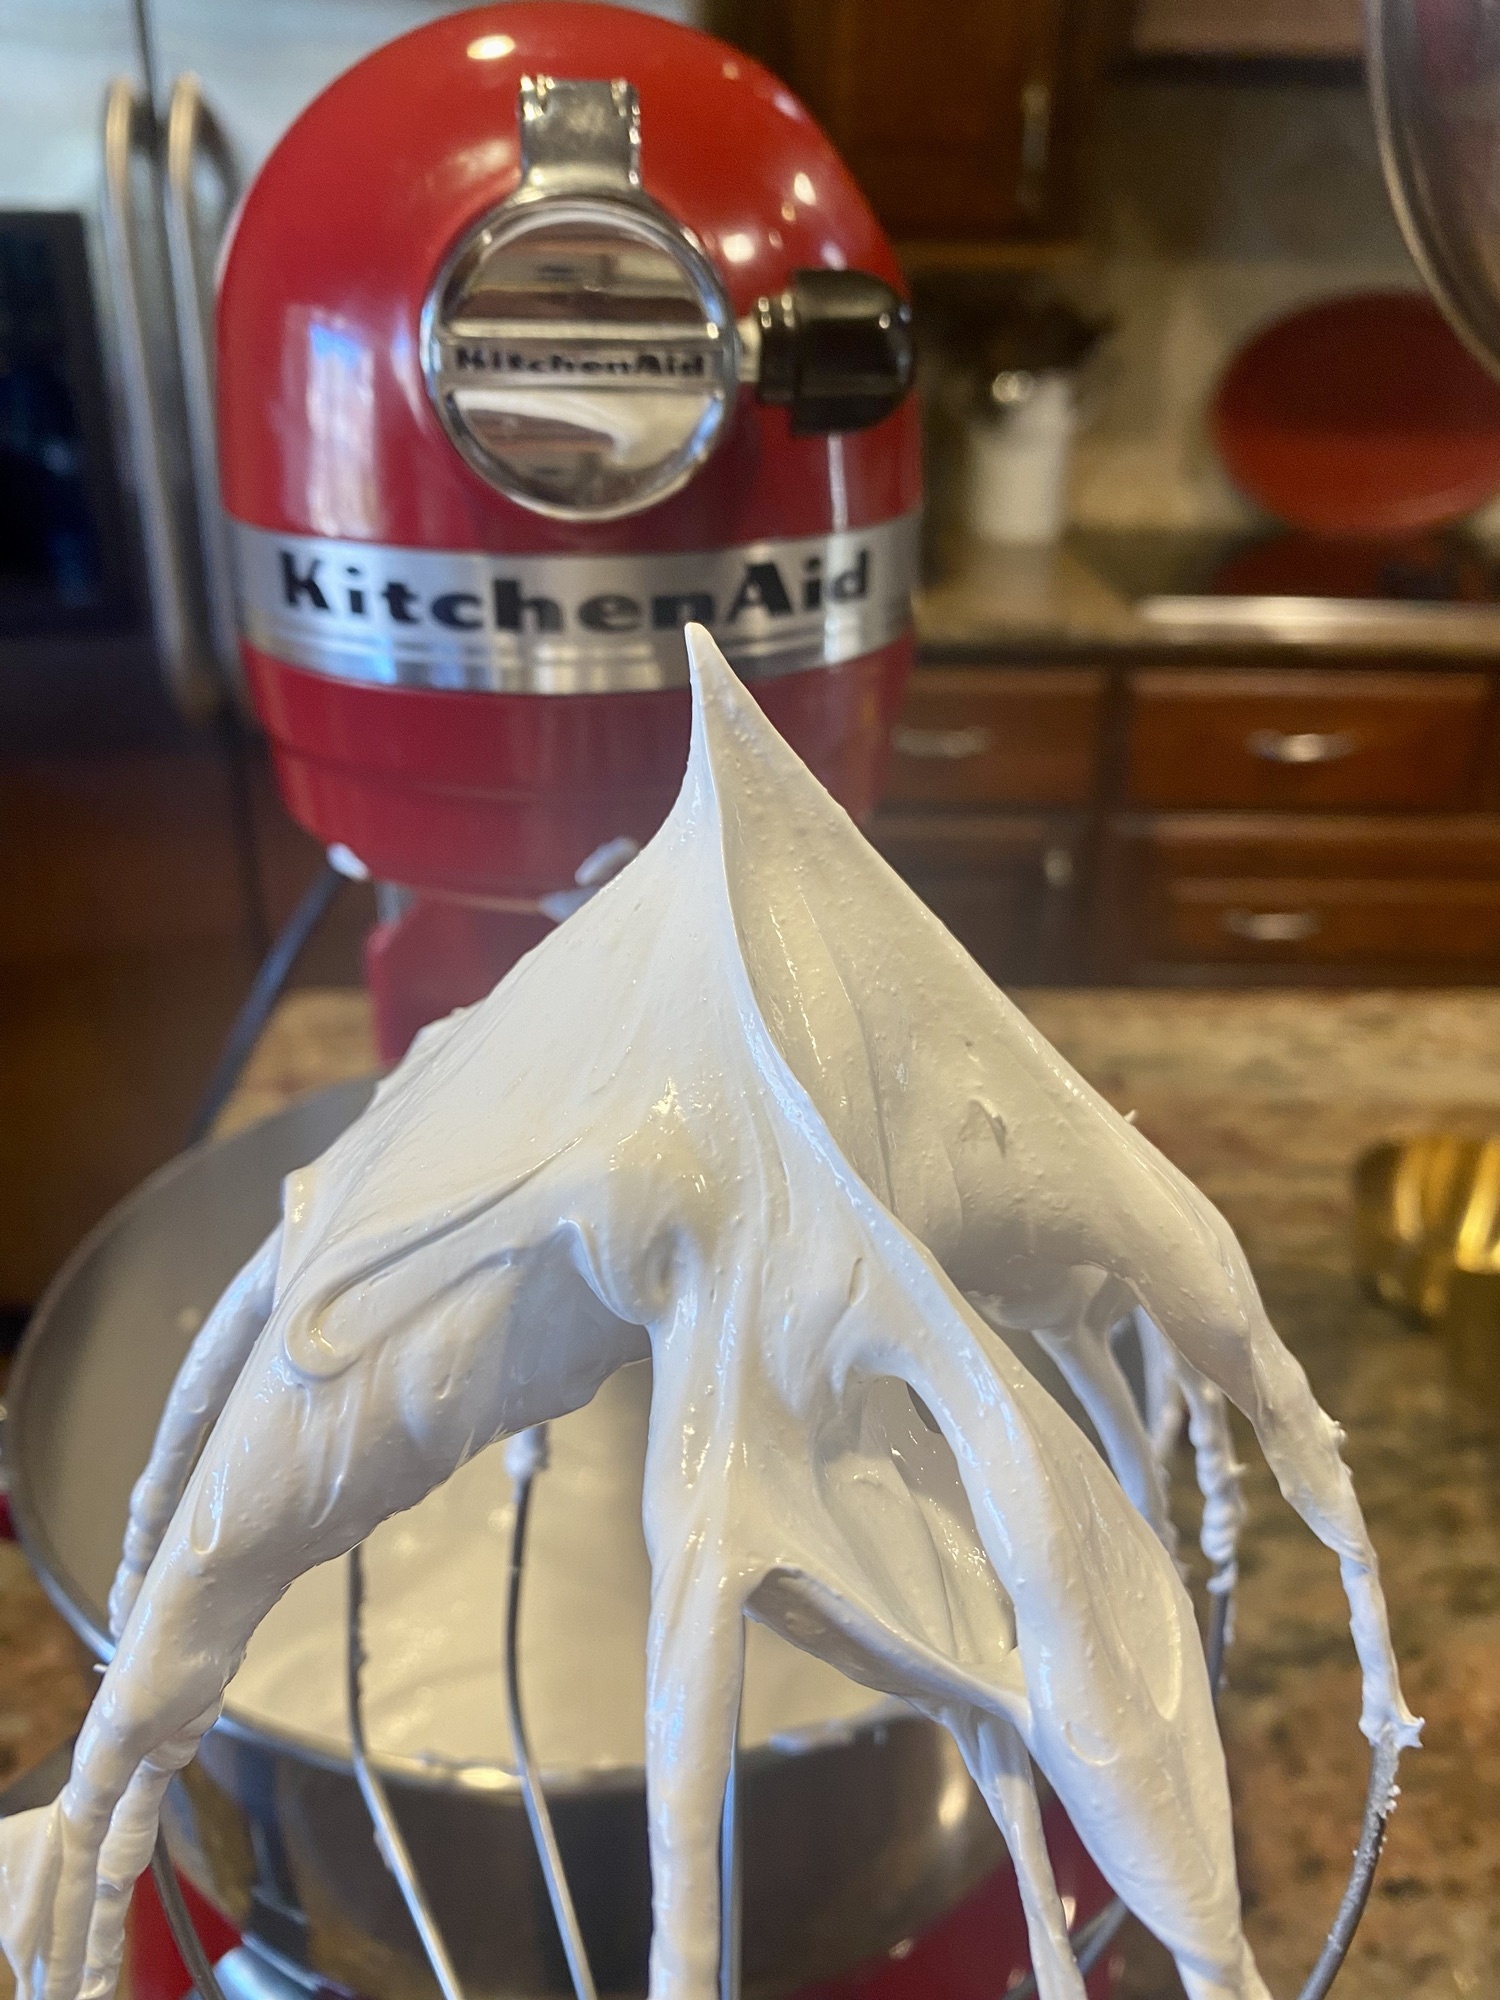
Stiff peaks.

Trace a circle on the parchment paper.
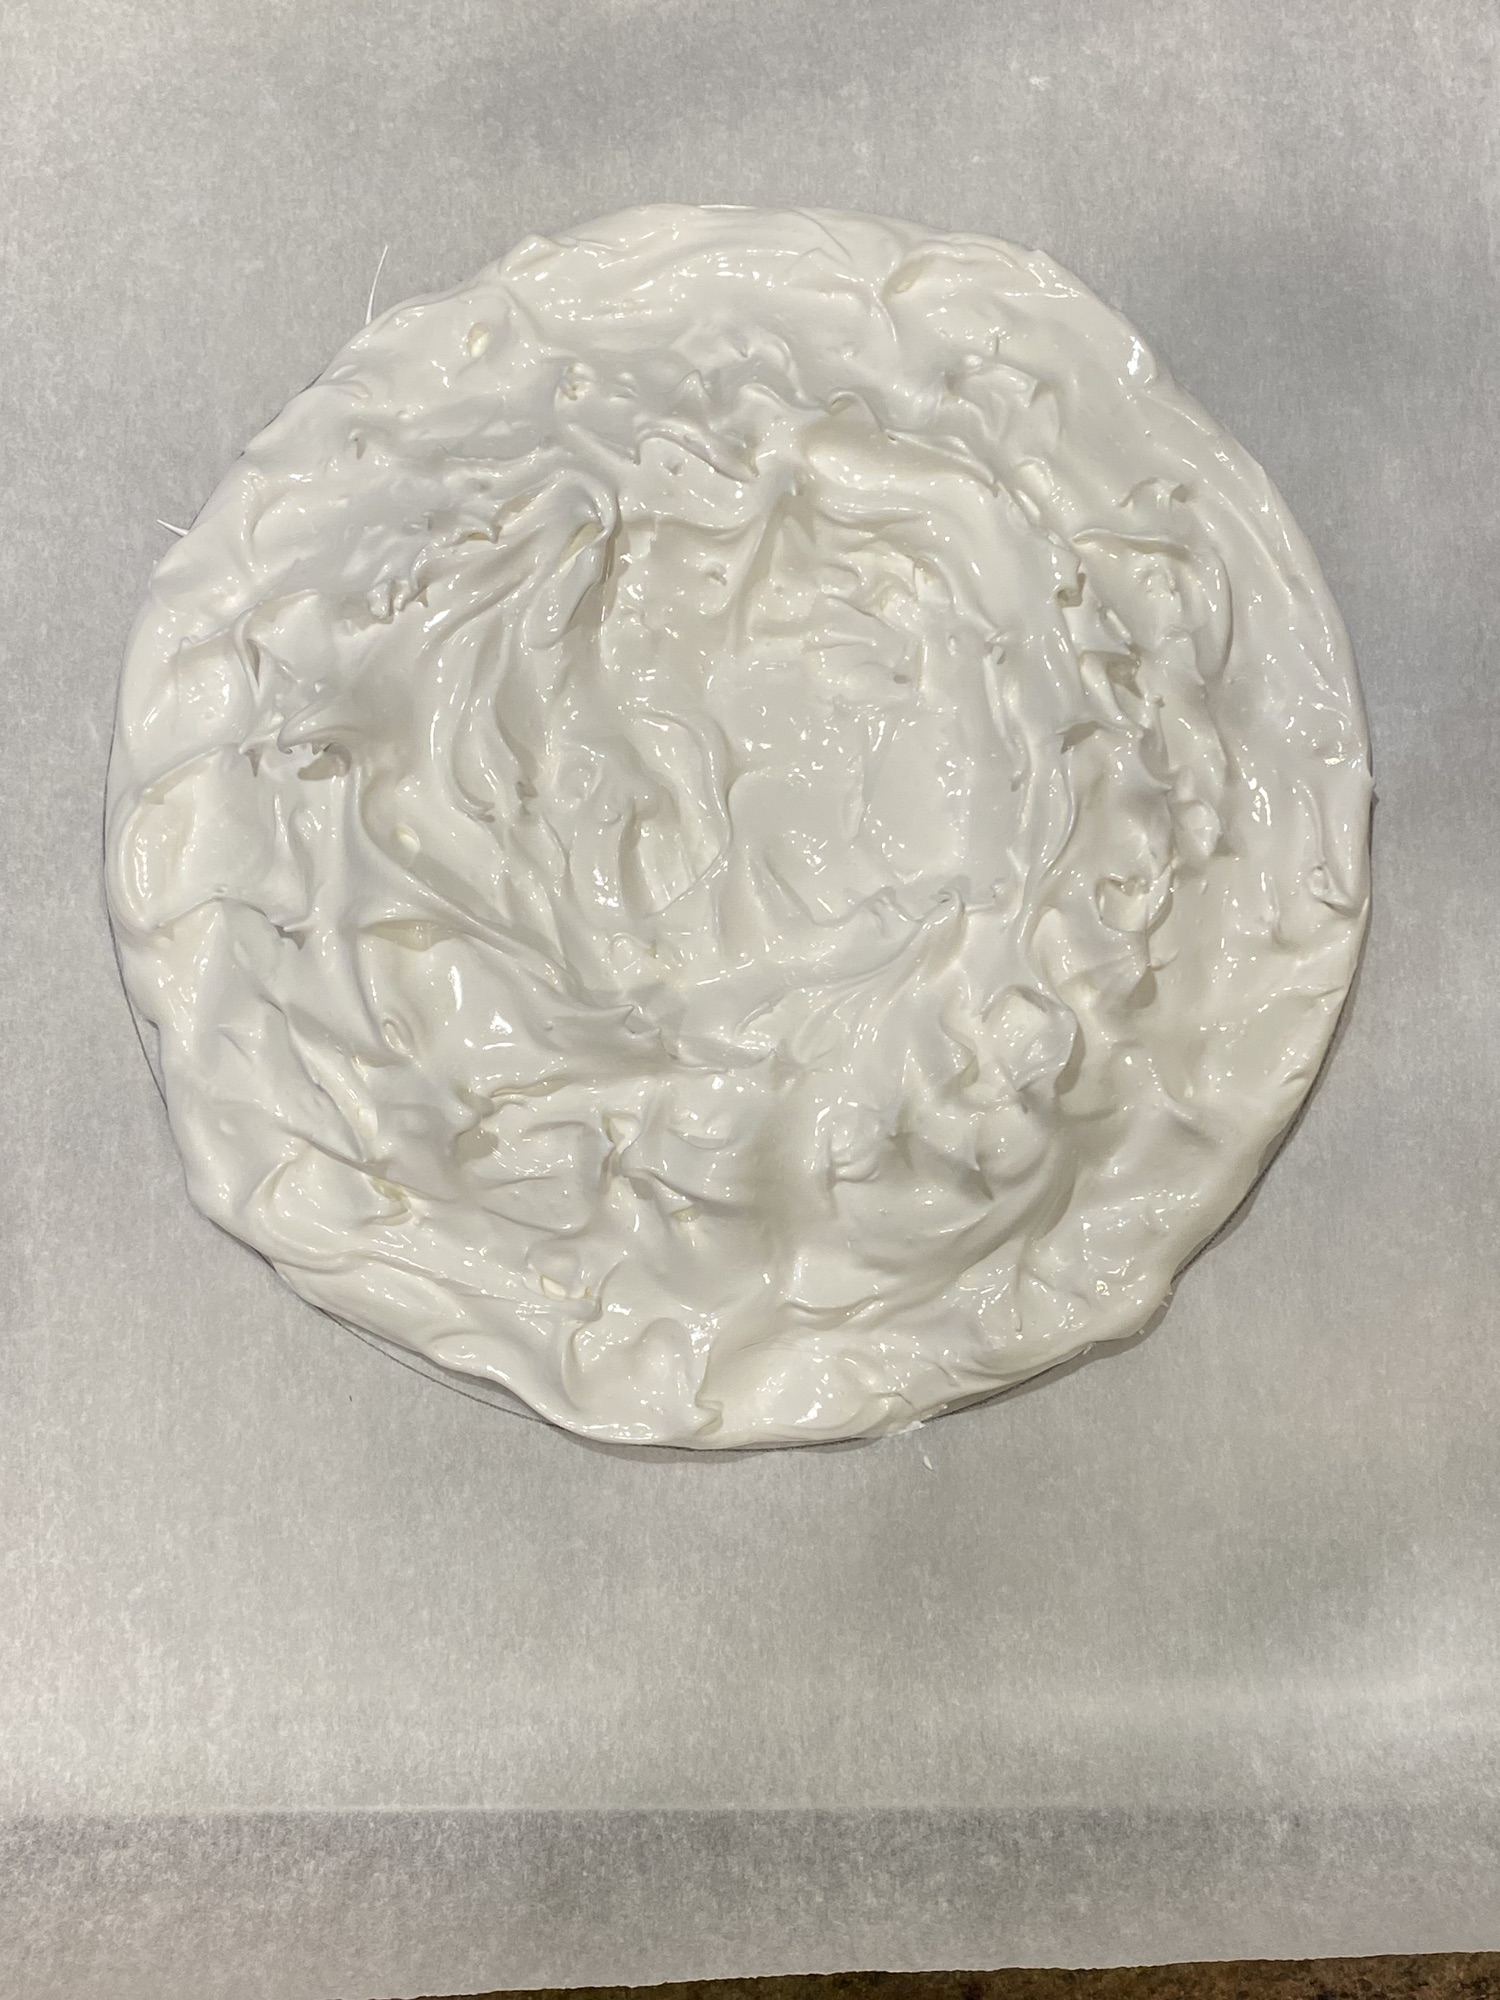
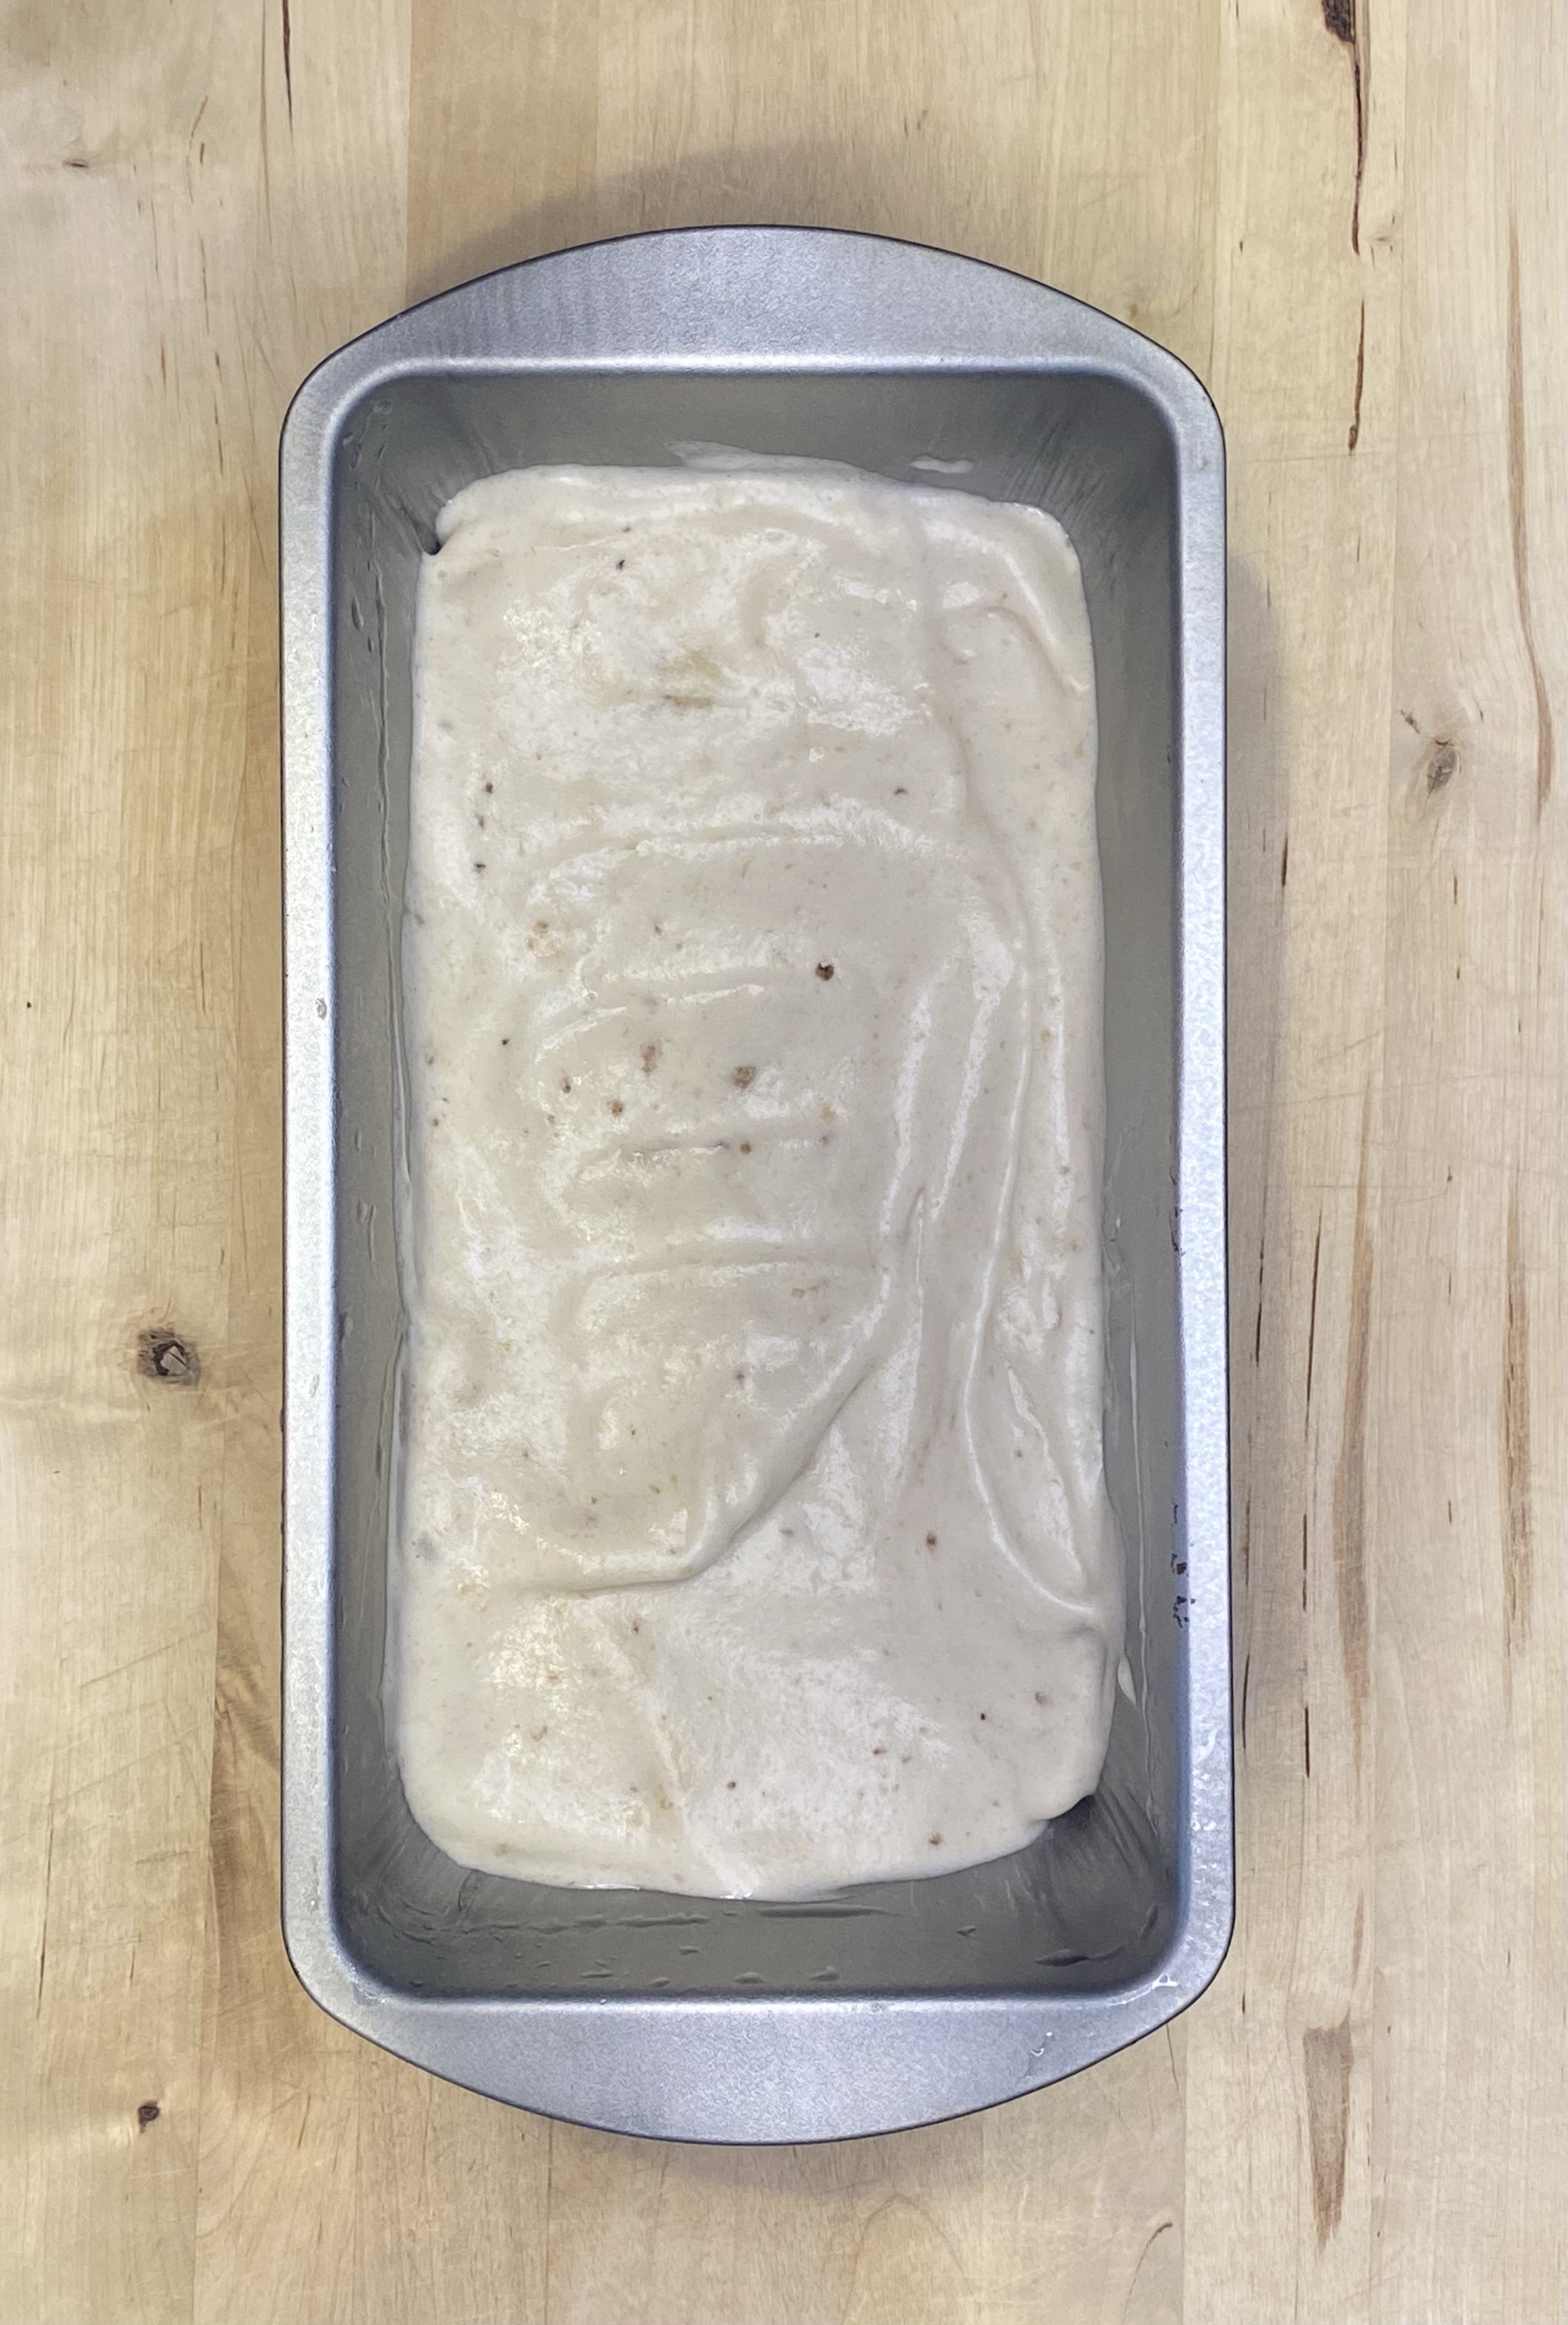
Ready to go in the oven. Make lots of swirls as they add great texture.

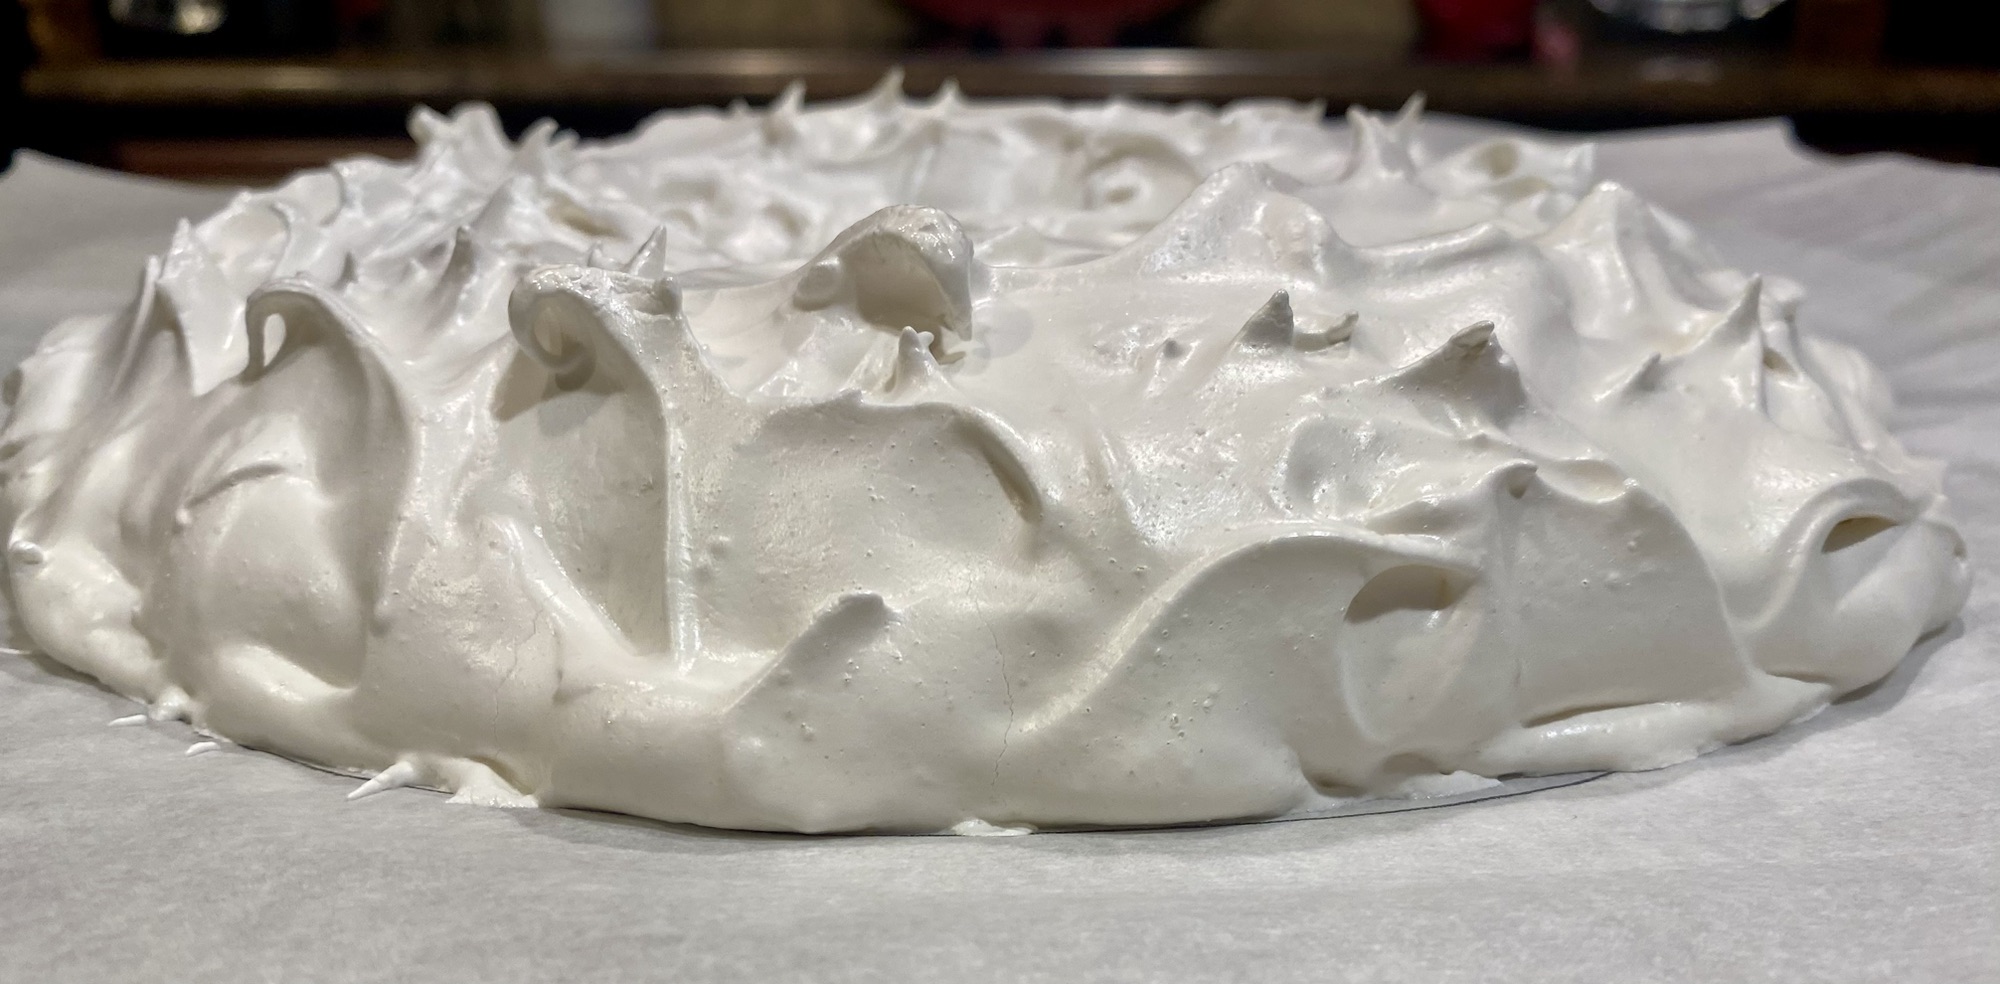
Once the pavlova is cooked it will still look glossy, just slightly dull.
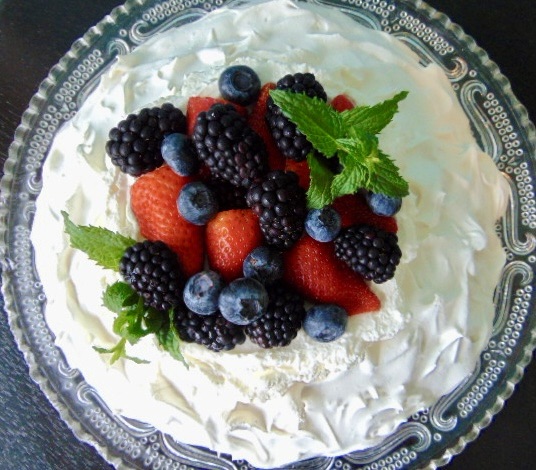
Top with whipped cream and berries. Enjoy!
Photo credits: Meghan E. White