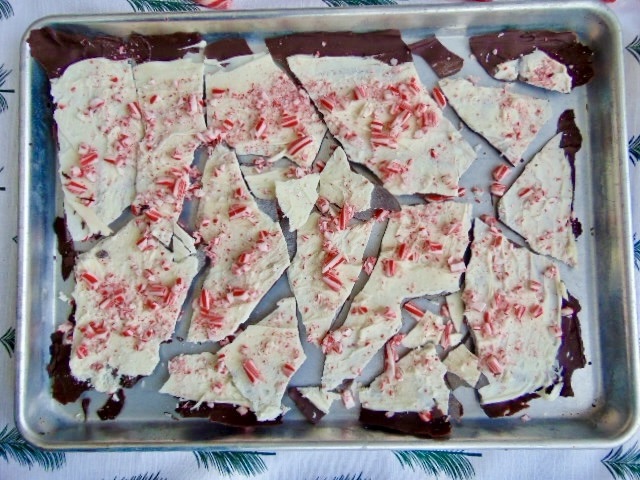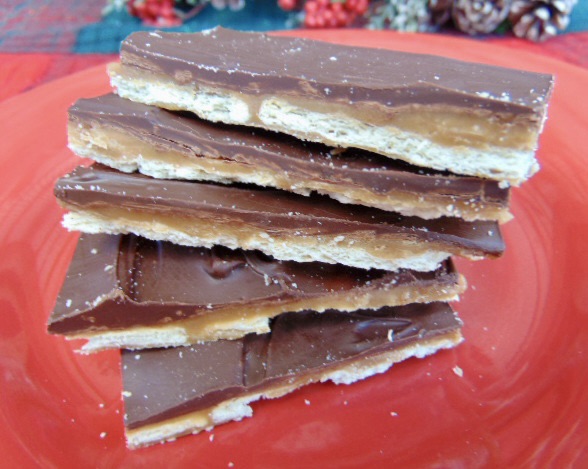
If you are looking for a sweet, last minute, homemade gift, this is the one. This addictive toffee candy is fantastic. It hits all my requirements, simple and delicious. Don’t let the toffee intimidate you because it couldn’t be easier since you are not making actual toffee. No candy thermometer required, and you probably already have the ingredients on hand.
Customize the candy to your liking. Add nuts, sprinkles, and salt, or drizzle another type of chocolate on top. Christmas crack makes a nice gift for friends and family. It’s also great to have for your holiday gatherings. I hope you will give this delightful recipe a try.
Merry Christmas!
For God so loved the world that he gave his one and only Son, that whoever believes in him shall not perish but have eternal life. John 3:16

Christmas Crack
Ingredients
1 to 2 sleeves saltine crackers (35 to 50 crackers)
1 cup butter
1 cup brown sugar
12 oz. semi-sweet chocolate chips
Instructions
- Preheat the oven to 375°.
- Line rimmed baking sheet with parchment.
- Place saltine crackers evenly in a single layer filling the baking sheet.
- In a medium sized sauce pan place brown sugar and butter. Over medium low heat, melt the butter. Turn up heat to medium/medium high and bring to a boil, stirring occasionally. Once boiling, set a timer for 3 minutes, stirring constantly.
- Pour hot toffee evenly over crackers.
- Bake in the oven for 5 minutes.
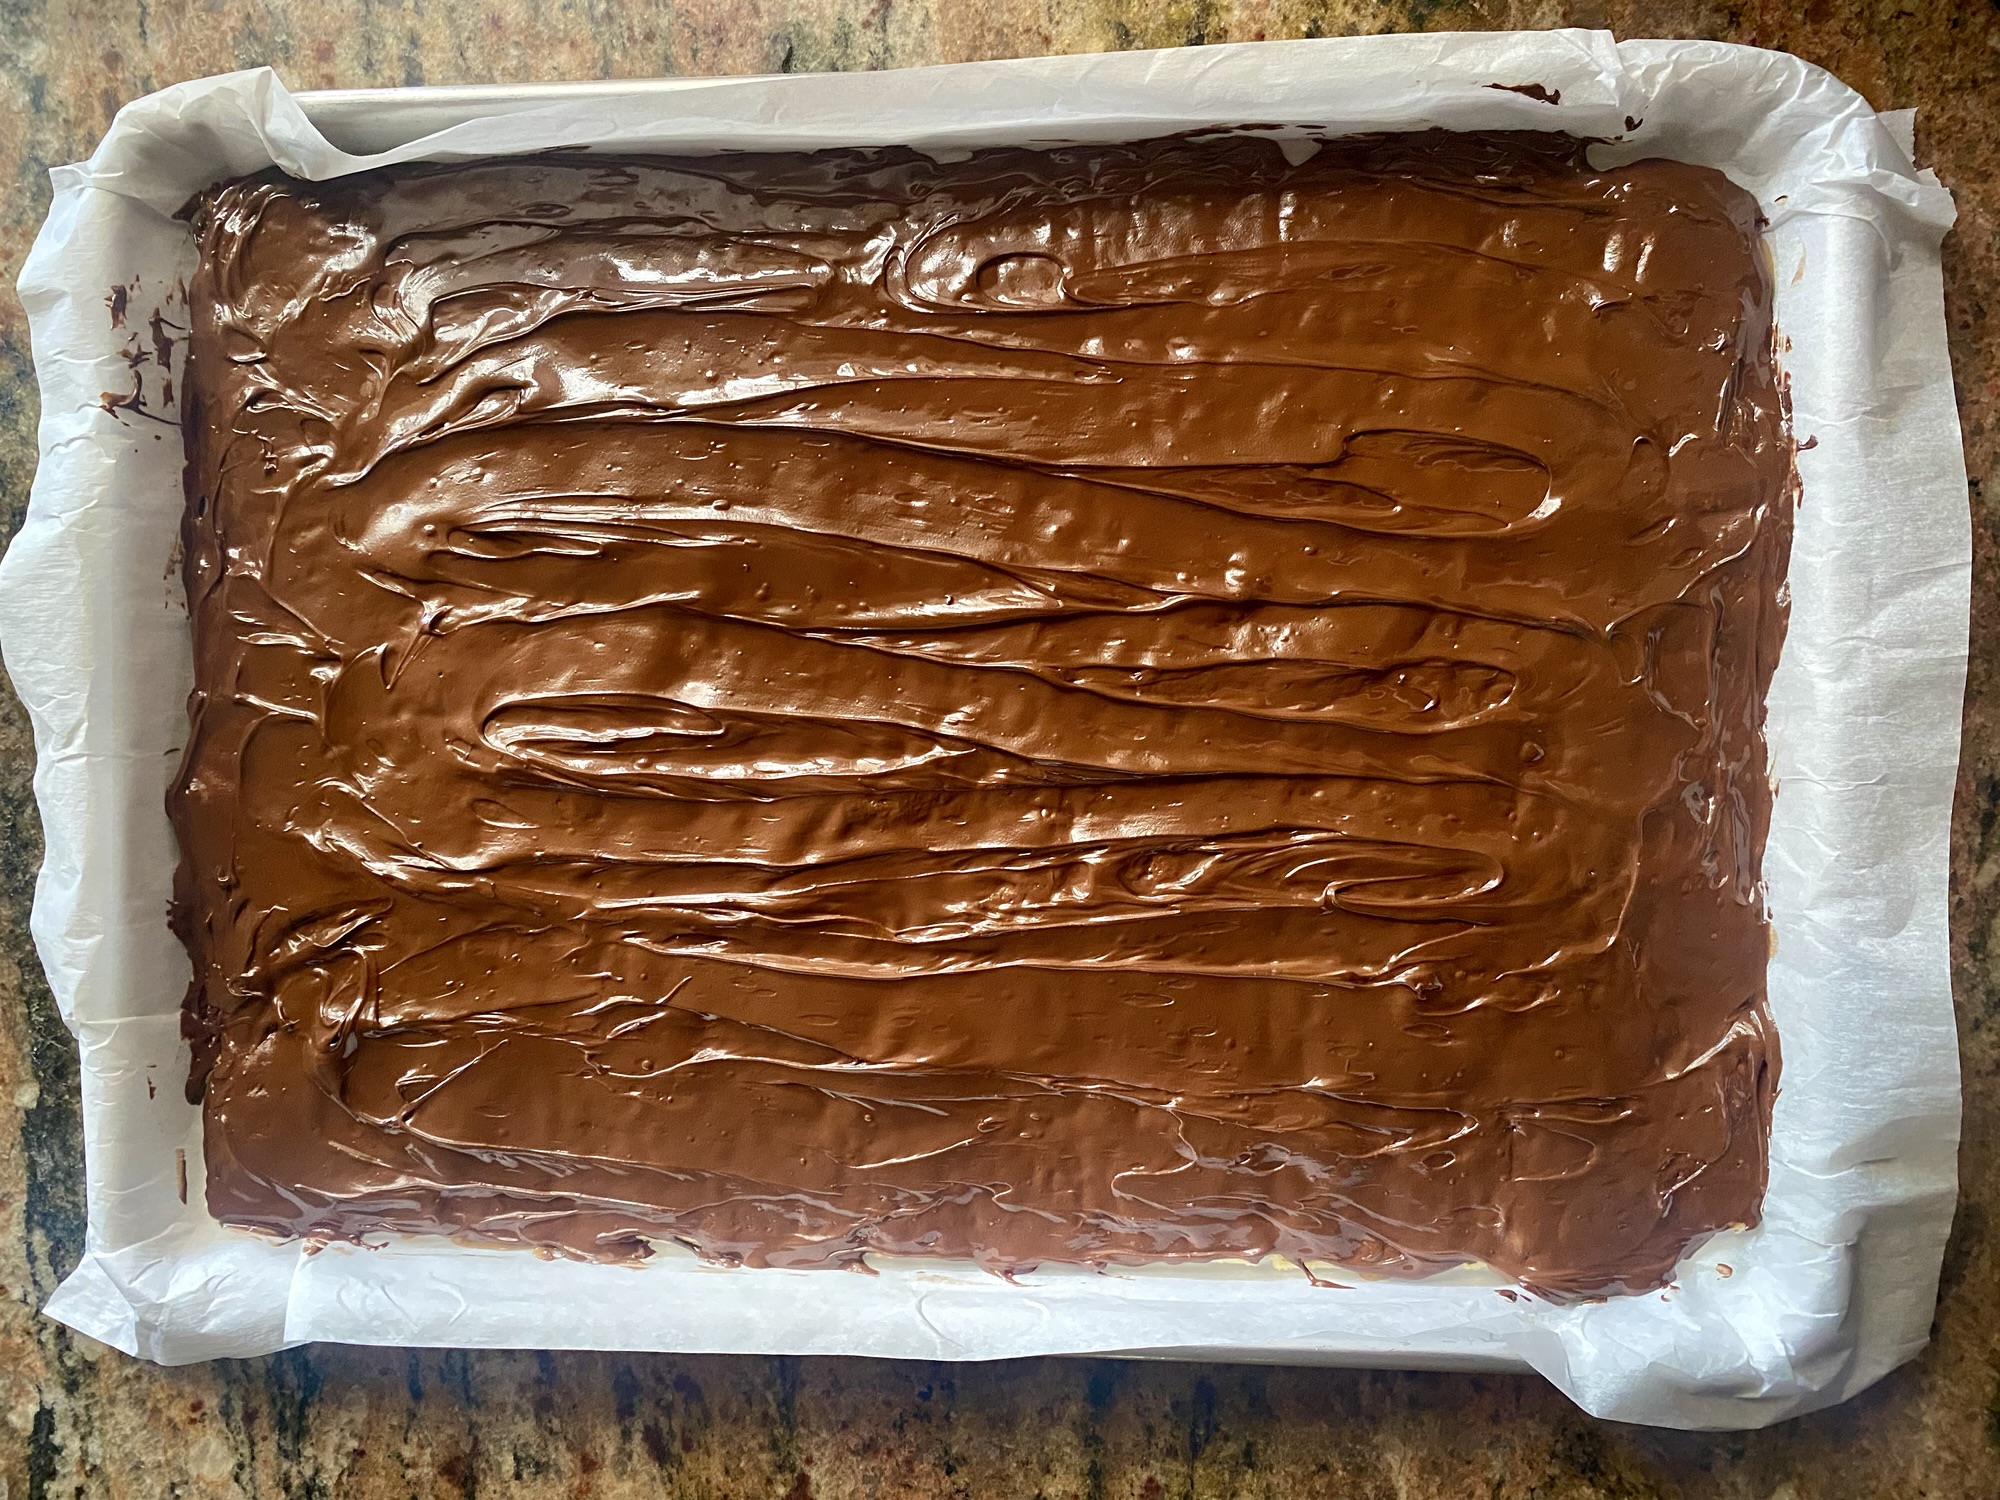
- Sprinkle chocolate chips over the hot layer and let sit for a few minutes. Spread melted chocolate evenly across the hot toffee layer.
- Add any toppings like nuts, salt, or sprinkles.
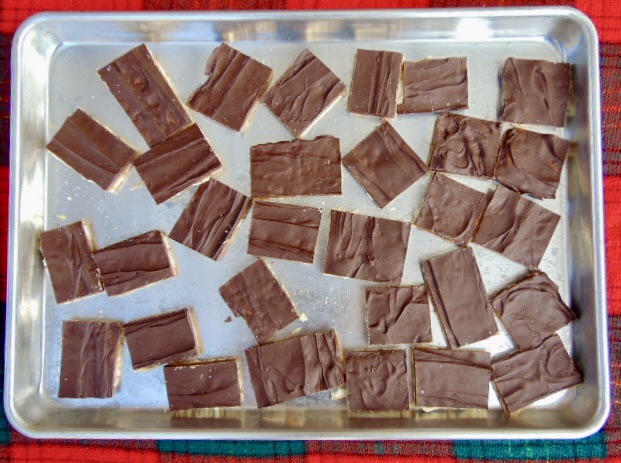
- Place in the refrigerator for 1 hour to set up.
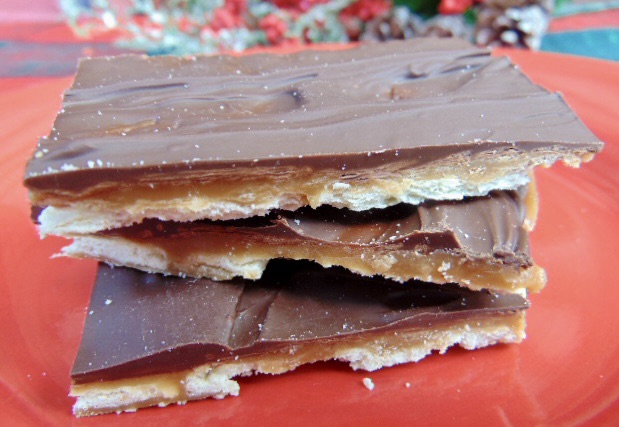
- Break into pieces and enjoy!
Notes
- Add any toppings you prefer like nuts, salt, sprinkles, or drizzle melted chocolate.
- It’s recommended to store the toffee in the fridge, but I keep it in a sealed container at room temperature.
- I always use salted butter for all my baked goods. Use whatever you like.
- For a 18 x 13 baking sheet it takes approximately 50 saltines.
- For a 10 x 15 baking sheet it takes 35 saltines.
- Pretzels, graham crackers, or other crackers can be used for the bottom layer.
- Use your choice of chocolate: dark, milk, white, etc.