Fresh ingredients come together for this classic flavorful salad. So easy to toss with a vinaigrette dressing. In a few minutes you’ve got a delicious side, or make it a meal. It’s entirely up to you.
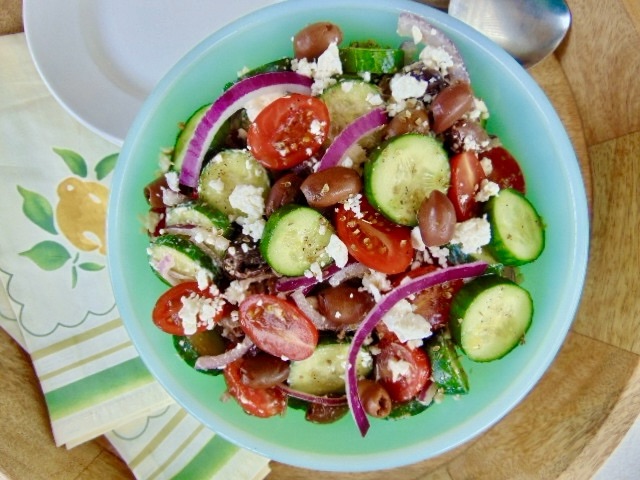
I love a Greek salad and this one is pretty classic, except I don’t add the bell peppers. If you like green peppers in your salad, then add them. The flavor combos are perfect with soft feta, sweet tomatoes, briny olives, crisp cucumber, and slightly bitter red onion. It makes the perfect bite.
If you are looking for a new salad to try, this is the one. Or, if this is a favorite and you’ve never made it, this is for you. Greek salad is refreshing, and packed with flavor. Enjoy!
Happy Eating!
And this is the message we have heard from Him and announce to you: God is light, and in Him there is no darkness at all. 1 John 1:5
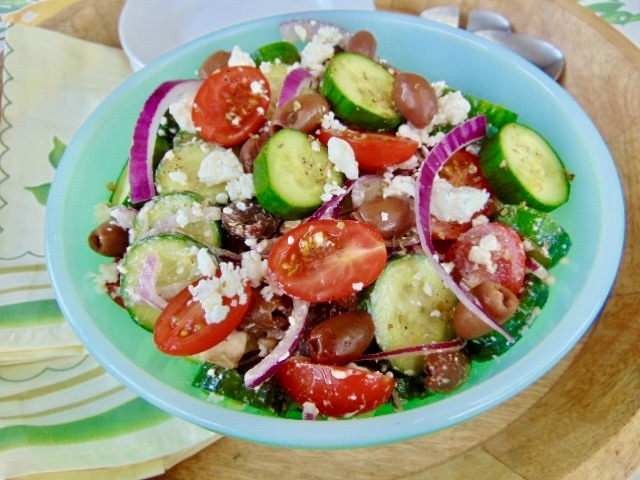
Greek Salad
Ingredients
6 mini cucumbers sliced or 1 regular cucumber sliced
half of a red onion, thinly sliced
1 green bell pepper, chopped
10 oz. grape tomatoes, halved
6 oz. jar Kalamata olives drained
4 oz. feta crumbles
Dressing
¼ cup extra virgin olive oil
2 Tbsp red wine vinegar
½ teaspoon dried oregano
1 clove of garlic, crushed
½ tsp salt
¼ tsp pepper
Instructions
- In a small bowl whisk together olive oil, red wine vinegar, oregano, garlic, and salt and pepper.
- In a medium sized bowl, add cucumbers, red onion, bell pepper, tomatoes, olives, and feta. Drizzle the salad dressing on top and gently toss everything together. Enjoy!
Notes:
- To reduce some of the bitterness from the red onions, place the sliced red onions in a bowl of ice cold water. Let sit for about 20 minutes, drain and enjoy.
- This salad is meant to be eaten right away. Toss with the dressing just before eating.